Wednesday, September 19, 2018

The Card Concept - Pastel Party

Hello Everyone!  It's time for the next Challenge for The Card Concept, "Pastel Party".  Lately, I have been playing a lot with the Wreath Builder Templates from Gina K Designs for both square and A2 sized card panels and making lots of different styles of wreaths for all seasons.  For this challenge, I decided to try to do a pastel wreath for a Christmas card!  This is a great way to use some of those small images that we all have in stamp sets!  Look through your stamps to see what small images you have and you'll be surprised at how many will work with the Wreath Builder Templates.  A lot of it is trial and error to find what looks good and what doesn't.  We have a great line-up with the design team members so be sure to stop and visit everyone's blog!  Here are the links:

Vicki Finger (You are here)


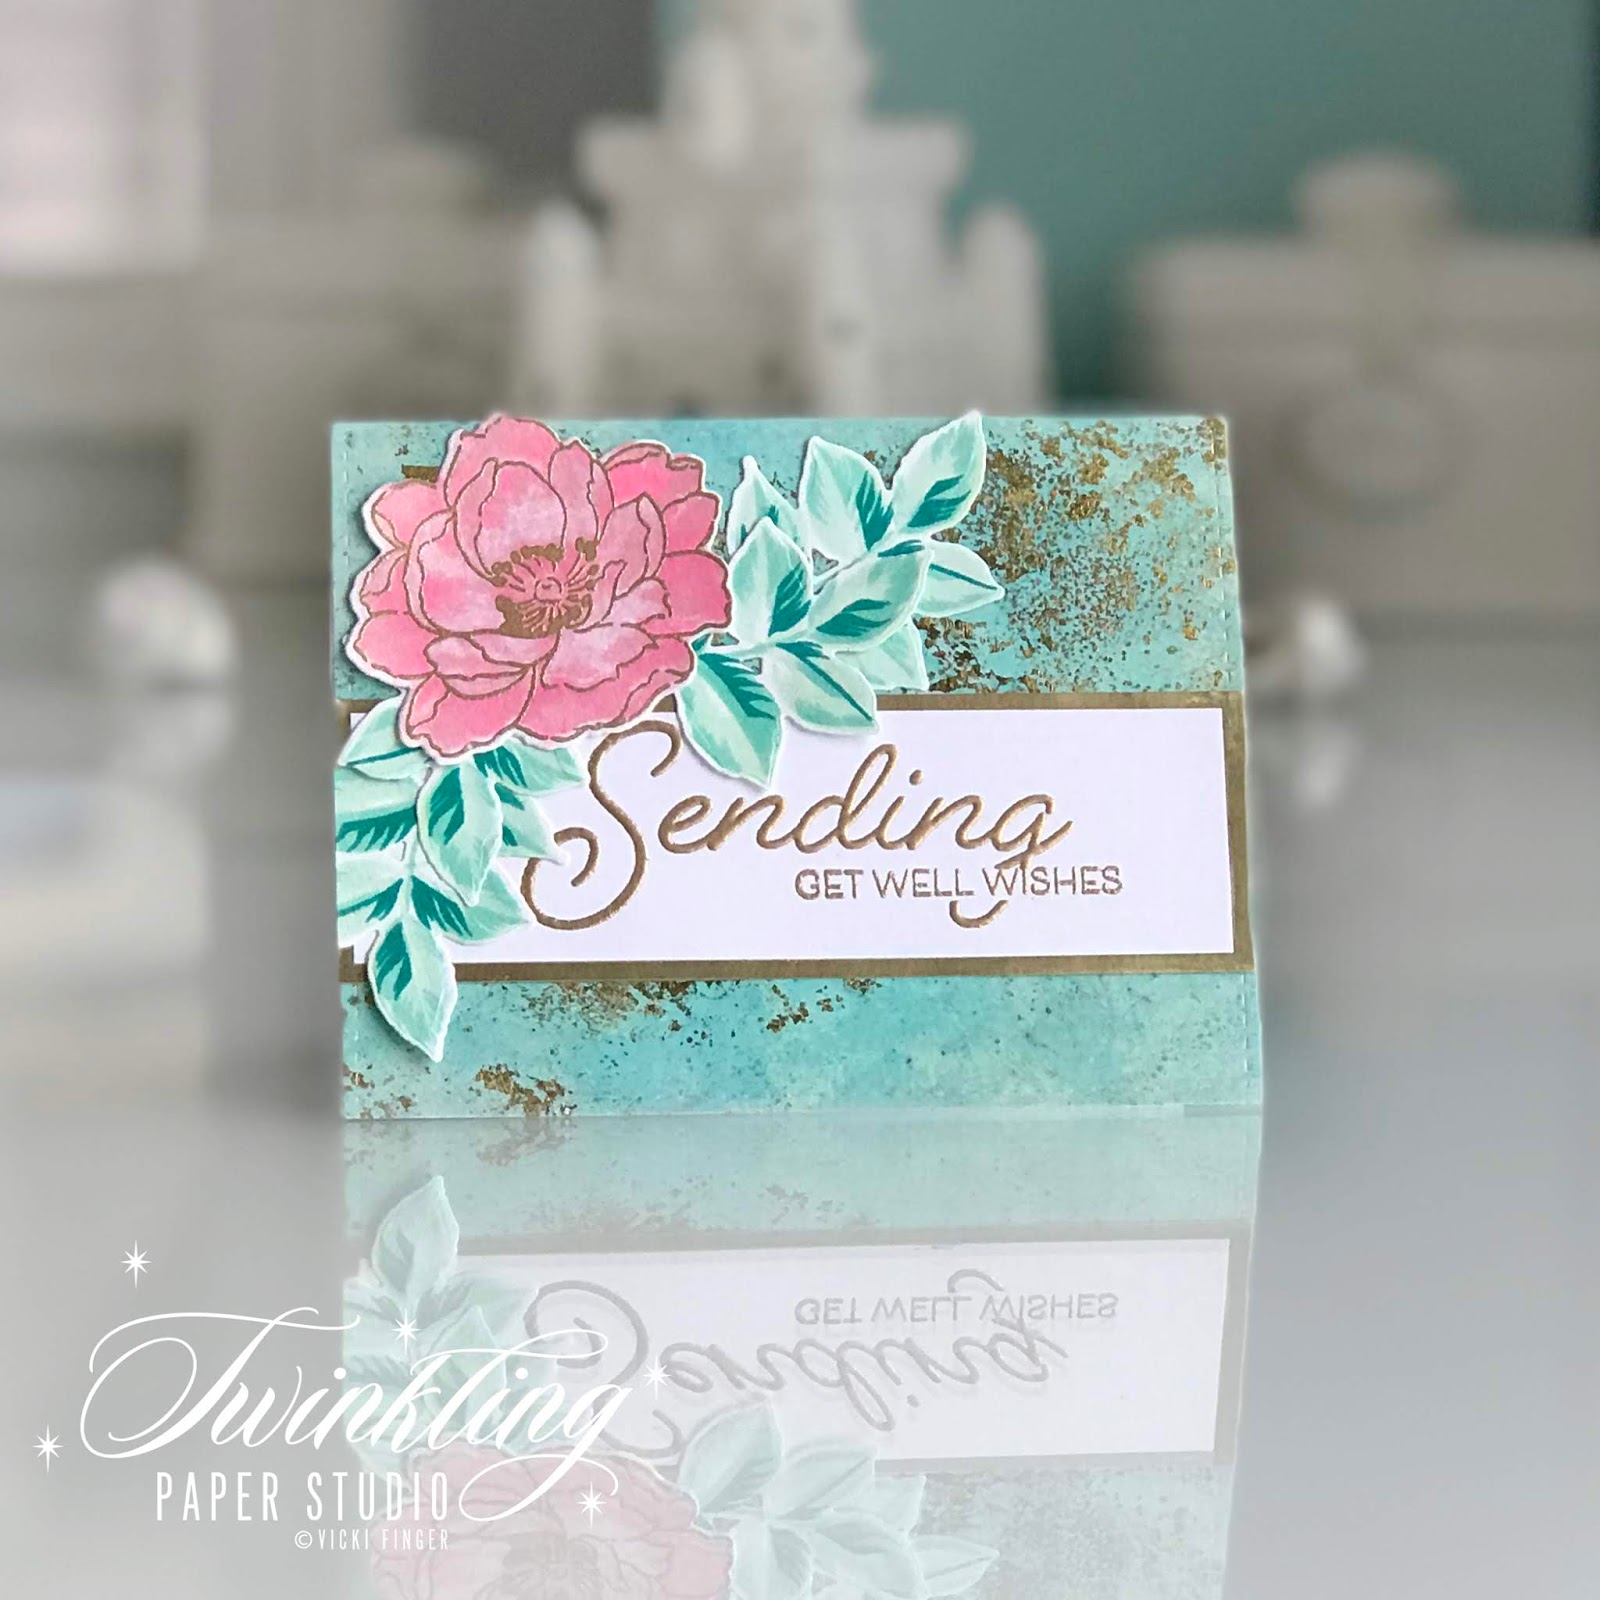
I used four colors of ink and a few Stickles for this card.  Sweet Blush, Aqua Mist, Autumn Rose and Vintage Jadeite.  The Stickles were Pink.  The stamps I used were from WPLUS9 Be Merry Florals, Papertrey Ink's Enclosed Bell, and Papertrey Ink Happiest of Holidays for my Sentiment.  I actually really love this card and another I made for a little gift card.  

Slightly larger images can work if you think through them beforehand.  While this wreath is more asymmetrical, it still worked out great for a kind of wreath although it is not as busy as some of the others I've made.  I still have a few more variations to try this week (hopefully).  I would encourage you to play on some scrap paper or cardstock before actually trying them on your good cardstock the first time or two.  
One thing that is super important when using the wreath builder templates is that you must always start in the square orientation, not the diamond.  There's a lot of little tips and tricks that you can find in Stamp TV YouTube Videos and also Jennifer McGuire and Cathy Zilske have done a few as well.  There's probably many more out there but I don't have a lot of time to watch too many. The link above is to the wreath builder Tutorial for how to stamp for panels which will be 4 x 5.25 to fit in the template but still be mounted on an A2 Card base.  Here are a few samples I've done.


It just takes a bit of practice to get the hang of the "oval" wreath orientation and you can't get in a hurry or else you will really mess it up.  The Thanksgiving card I posted below was stamped the same way but when it came time to add the acorns, I took the template out of my Misti and Just lined it up to be centered then rotated my panel 180 degrees and stamped it again so that whichever way it ended up on the panel would work out okay because I had kept the symmetry.  I hope that makes sense.  I like how well the Thanksgiving theme card worked out and I would only change a few things about it.  Since it was a trial run to see if it would work, I was happy with how it turned out and it was the basis for today's card for The Card Concept.


I am still so busy with the new house.  It's not like I'm actually doing the work but we had a lot of upgrades that were not done when we closed.  I spend my days chasing stuff down trying to pin down dates for completion.  Absolutely nothing ever gets finished the first time and often one contractor messes up another's work and I am the one who is cleaning up each and every mess.  Let me just say, there were many extenuating circumstances that we needed to be moved, but you should never close on a house before it is completely finished.  And if I wasn't on top of everything, every single day, nothing would ever get finished.  We have part of our sod, but all of the hurricanes have left many of the sod farms unable to be accessed.  In addition to that, we are still waiting on plans for our additional garage and landscaping.

The happy news is that all of my beautiful flower bulbs will be delivered today in preparation for planting.  I got 12 different varieties of  Daylilies that are re-bloomers in colors from Pink to Coral to Purple and also a Bethlehem Sage Ground Cover that flowers.  Until the rest of our landscape is put in place, we won't plant anything else which at this point.  Hopefully next spring that will be finished and we will be able to decide what, if anything else we want to put in.  We do have a Jasmine bush that absolutely loves it here in Texas and has bloomed continuously since we moved it here at the end of May.  But we're going to have to move it to the ground or a larger pot soon.

Thanks so much for stopping by today and I hope you'll have time to join us with a project of your own.

Sunday, September 16, 2018

Altenew Educator - Creative Watercolor Media

Hello everyone!  I am back today with a new project for another class in my Altenew Educator Certification Program , "Creative Watercolor Techniques".  A lot of the class was focused on using inks or reinkers in various ways to watercolor.

It took a few tries before I had a project that I was happy with and wanted to use to make a card.  This class was taught by Jen Rzasa, Laura Bassen and Debby Hughes, but I cannot stress enough that each person has to find their method that works for them.  All three ladies have beautiful projects.  I really struggle with the blending of colors and not having everything turn brown.  I am impatient and this is one technique that you have to make yourself slow down for.  I think I have nailed down my particular issue and that I am not using the right undertone when working with greens.  In my project, I think it would have been much more successful had I chosen a green with more of a yellow undertone.  That is why it's important to keep practicing if you want to do the Wet on Wet Technique which is what I was going for.  It just occurred to me that I should have used better watercolor paper for this and that's probably my issue, so I will try again another time.  I might stamp another panel while I still have the stuff out.  I was going for a more emboss resist type of background but I could die cut the blooms and most of the leaves out of the panel which is what I did to salvage this card.

I love how the flower blended using Summer Sunrise with Ruby Red to get a vivid coral color for my bloom.  The leaves just turned a muddy brown from the areas that the red reinker moved into with water.  So I used Evergreen reinker to just make them mostly a solid color of green.  As I said, I still need lots of practice with all my watercolor mediums.  I had one of my alcohol inked backgrounds that I had previously made that has shades of purples, pinks and a little coral so when I put that behind the flower, I thought it really came to life.  The images and sentiment are all heat embossed with Antique Gold Embossing Powder and I used a scrap of Gina K Designs Plum Punch cardstock for the sentiment banner.  The banners are die cut with one of the dies from "Keep It Simple Frames" from Papertrey Ink.


My husband really likes the bold vivid colors in this card.  With the blooms, even though I had two of them, One was definitely more the color and look that I was going for, so I just stacked the two on top of each other to make the bloom thicker.

In order to put this in the mail I will need to either trim off the excess or use a larger envelope.  I like to leave the card the way it is until I choose who to send it to and then make my choice based on available supplies.  I try to always have some padded mailers around in addition to regular A2 Envelopes.

This particular background did not take much foiling when I ran it through the Minc but I felt the colors worked out perfectly.  Once I am finished with the AECP, I really want to keep working on my techniques with Wet on Wet Water coloring.  That takes time though which for me is a rare commodity around here right now.

Now that I've said it out loud, I think the main reason I really struggled with this is that I should have used some of my good watercolor paper because the Bristol just can't take the amount of water used.  Bristol is great if you want to use your Zig Clean Color Real Brush Makers but not so much for this type of watercolor. I am going to repeat this particular project sometime this week and if I get better results, I will be sure to share them with you .  Duh... (smacks self in the head here).

Thanks so much for stopping by today to check out my project.  Affiliate links are used wherever possible to help support this blog.

Altenew Antique Gold Crisp Embossing Powder
Shop at:
ALT
Altenew Build A Flower Camellia
Shop at:
SSS | ALT
Altenew Green Fields Reinkers
Shop at:
ALT
Altenew Kind Words Stamp Set
Shop at:
SSS | ALT
Altenew Red Cosmos Reinkers
Shop at:
ALT
Canson Bristol Paper
Shop at:
SSS
Cuttlebug Die Cutting Machine
Shop at:
SSS
Kokuyo Long Dot Runner Adhesive
Shop at:
SSS
Kokuyo Long Dot Runner Adhesive Refill
Shop at:
SSS
MISTI Stamping Tool
MISTI Stamping Tool
Shop at:
SSS | ALT | GKD
PTI Keep it Simple Frames
Shop at:
PTI
PTI Perfect Match Summer Sunrise Ink
Shop at:
PTI
PTI Stamper's Select White Cardstock
Shop at:
PTI
Ranger Multi Medium Matte
Shop at:
SSS
SSS Stitched Rectangles Dies
Shop at:
SSS
Teflon Bone Folder
Teflon Bone Folder
Shop at:
SSS
Tim Holtz Tonic Paper Trimmer
Shop at:
SSS
Tim Holtz/Ranger Alcohol Ink Blending Solution
Shop at:
SSS
Tim Holtz/Ranger Alcohol Inks
Shop at:
SSS
Versamark Ink
Versamark Ink
Shop at:
SSS
Wagner Heat Tool
Wagner Heat Tool
Shop at:
SSS
WPLUS9 Gift Card Layers Designer Dies
Shop at:
SSS

Saturday, September 15, 2018

Papertrey Ink September 2018 Create Along With Us

Hello fellow Papertrey Fans!  It feels like forever since I got to participate in any Papertrey Blog Hops or Make it Mondays, etc. so I am excited to share a card with all of you today.  This month's Release is filled with lots of Christmas and Holiday goodies and among my favorites is Lizzie Jones' Bold Borders Yuletide. 

Isn't this just heavenly?  It made me think of a cover plate die I have from Papertrey Ink that I haven't used for quite a while, Cover Plate:  Winter Floral.

So Lizzie's new die that is releasing tonight was my inspiration for this card as well as being a card using the techniques taught in my recent AECP Class "With A Twist".  For my twist, I used an somewhat unexpected color combination. 

I still have several pieces of Alcohol Inked Backgrounds that have been run through my Minc Machine for the added touches of gold.  This particular piece didn't have much foiling so I "sacrificed" it to use for cutting my cover plate.  There was a fairly good sized piece of it left so I cut some smaller die cuts out of it.  The thing I really like about Lizzie's new one is the additional of the words die.  So I will have to add the new one to my collection. 


Instead of traditional red berries, I used White Pearls to embellish the card which I think makes this a very Elegant Card.   The Sentiment is from an older Papertrey Set called Holiday Photo Finishers which was discontinued. 


There are so many beautiful new products to see in this month's release and Betsy Veldman's annual Make it Market Holiday Kit releases on October 1st.  In this month's release, she has a Make It Market Mini Kit that is in tonight's release.  Be sure to go to the Papertrey Blog and check out all of the beautiful release items for this month.  Here's an image of the Make-It Market Mini Kit for tonight's release. 

Betsy's kits are always a great value and if you run out of pre-printed supplies, you still have the stamps and dies to make your own and you can also use the contents to make cards.  There is just so much goodness in this release!

In case you aren't familiar with Papertrey's Countdown, they start on the 10th of each month and each day features a few products from the new release.  On the 15th of the month, the entire month's release is revealed and available for purchase beginning at 10 p.m. Eastern.  If you'd like to shop through my Papertrey Ink Affiliate Link, that is always appreciated! 

Be sure to check out the Create Along With Us Blog Hop and you will see many lovely projects there as well.  Have a great Day and Thanks for stopping by today!  I still have several classes for my Altenew Educator Certification Program and many other projects in the works for The Card Concept Design Team and the Keeping Christmas Blog Hop that comes around on the 25th of each month minus December.  We have a new challenge beginning this Wednesday at The Card Concept so be sure to join us for some fun there as well.

Altenew Educator - With a Twist

As I continue working through my classes for the Altenew Educator Certification program, I'm finding new ways to look at things and this class was definitely a new way of thinking about color and in fact so many, that I made four cards as a result of the class.  In the beginning, I wanted to do something very tone on tone like Terese's Day one card here pictured here.  I wanted to do the same kind of feeling only in a masculine version as one of my brothers has a birthday coming up next week.  So while I used similar colors, I wanted something a little more graphic and masculine for him.  I feel like I have learned so many new spins and each and every person has a different style.  While some things may be similar, there's just always a special touch you can add to what you are doing to give your cards your special signature.  In my case, it's usually gold and/or gems.
© Therese Calvird

I try to keep most things that are going through the mail to a minimal amount of thickness although I do enjoy those occasions when I will be hand delivering something because I can make it as dimensional as I like.  One of my friends that I like to send cards to has a postmaster that insists that the postage is for a package not an envelope.  Using a padded mailer does not make it more expensive which is what her postmaster tells her.  If it fits through the slot on the plastic template they have at the post office, it is regular mail, even with embellishments.  The only reason I put it in a padded mailer was because of the embellishments.  When she got her birthday card, she had to go bail it out of jail for an additional $2.85 cents in addition to the $2.00 in postage on it. It had arrived without two of the stamps and none of the stamps had been canceled at all.  Wouldn't that just suck all the fun out of getting a birthday card in the mail?  It would for me. 

Anyhow, I decided to start with Pattern Play - Diamond Stamp Set and heat embossed the background image using Versamark and Antique Gold Embossing Powder on Blueberry Sky Cardstock. I stamped a large enough piece that the whole stamp covered it.  That allowed me to select the portion I wanted when I die cut that panel. There is also a row of three solid diamonds that you can stamp into the pattern in this image to do all of them or some of them.  I like to mix it up by stamping in a pattern that might not be noticeable at first glance and also by leaving some without the stamping in the full shape.  So I used two different ink colors in addition to being a less normal color such as white.  Don't get me wrong, I love my white space but I can also appreciate a different look from time to time.  I used Blueberry Sky and Enchanted Evening Inks for this part of the stamping.  Because I hadn't used the stamps before I ended up not getting very smooth results, so I found a couple of Copic Markers that were the same colors and touched up any of the bare spots.  I love the look of this because it's not fussy.  My "go to" for guys tends to be black and gold and guys do like that, but I sent him something in that color scheme last year, so I was looking to do something different.


The whole idea behind "With a Twist" is to do what you normally would, but with an unexpected twist in some form - unusual color combinations, size, shape or whatever you might like is okay.  I had posted a picture on Instagram for another card I made for this class because I couldn't decide if the funky leaf color was a "yay' or "nay" and I was surprised at the overwhelming "yay".


These leaves were some that were already stamped as was the bloom so it made it very easy to pull a quick "Get Well" card together.  The background is one of many I created previously using Alcohol Inks and then adding foil with my Minc Machine.  This particular one was done on the heavy weight Yupo so when I tried to die cut a word out of the middle, I had a big mess.  It stretched and warped the Yupo but did not cut all the way through even in the Gemini. I saved it by putting the sentiment banner across where the stretched out portion was where I tried to die cut it.  I am so glad I could salvage it because it was one of my favorite backgrounds.

I've linked the supplies I've used below for your convenience.  Affiliate Links are used wherever possible to help support my blog.  Thank you so much for stopping by today!  I hope you enjoyed my projects!


Altenew Antique Gold Crisp Embossing Powder
Shop at:
ALT
Altenew Beautiful Day
Shop at:
SSS | ALT
Altenew Beautiful Day Dies
Shop at:
SSS | ALT
Altenew Build-A-Flower Rose
Shop at:
ALT
Altenew Build-A-Flower Sakura Blossom
Shop at:
SSS | ALT
Altenew Cherry Blossom Mini Cube Collection
Shop at:
ALT
Altenew Pattern Play - Diamonds
Shop at:
SSS | ALT
Altenew Rose Petal Mini Cube Collection
Shop at:
ALT
Altenew Sea Shore Ink Cube Collection
Shop at:
ALT
Cuttlebug Die Cutting Machine
Shop at:
SSS
Kokuyo Long Dot Runner Adhesive
Shop at:
SSS
Kokuyo Long Dot Runner Adhesive Refill
Shop at:
SSS
MISTI Stamping Tool
MISTI Stamping Tool
Shop at:
SSS | ALT | GKD
PTI Perfect Match Blueberry Sky Ink
Shop at:
PTI
PTI Perfect Match Enchanted Evening Ink
Shop at:
PTI
PTI Stamper's Select White Cardstock
Shop at:
PTI
Ranger Multi Medium Matte
Shop at:
SSS
Teflon Bone Folder
Teflon Bone Folder
Shop at:
SSS
Tim Holtz Tonic Paper Trimmer
Shop at:
SSS
Tim Holtz/Ranger Alcohol Ink Blending Solution
Shop at:
SSS
Versamark Ink
Versamark Ink
Shop at:
SSS
Wagner Heat Tool
Wagner Heat Tool
Shop at:
SSS
WPLUS9 Gift Card Layers Designer Dies
Shop at:
SSS