Friday, April 24, 2020

Using Stencils to Create a Focal Image

IMG_5311

Today I have a quick and easy card for you using Stencils to create a decorative card base and focal image.  Then I have a quick update for you on my watercoloring progress.

I cut a 4 x 4-inch piece of cardstock to use for my focal image.  I lined up my Bright Blossoms Stencil from Poppy Stamps (a Memory Box Company) so that just one flower would show up on my piece of cardstock.  You can use a post-it note or masking paper to cover up any parts that you don't want to get ink on, but I was just very careful.  I used Picket Fence Studio's Life Changing Blender Brushes to ink up the various colors on my bloom.  I used Apple Mint for the leaves and Lovely Lavender for the outer petals of the flower.  Then I used Innocent Pink for the center end of the larger petals and the flower center.

Once I had the areas inked up, I added some very simple detailing using my Polychromos.  I don't have a lot of those - about 30 in total.  I seem to always have the ones I need since I bought based on the primary colors I seem to use for pretty much everything.  I don't use them often enough to justify buying a bigger set.

IMG_5318

For my card base, I wanted to use the bold Stripes Stencil from Birch PressDesign (another Memory Box Company) with Lovely Lavender Ink and did it all the way the full length of the card base so that it would be striped all the way.  I placed the stencil on the diagonal and moved it as I moved down the length of the cardstock.

I cut a mat for the focal image that was 1/8th inch bigger all the way around, which gives it a skinny border.  I felt the upper right-hand corner of that image was bare, so I chose a smaller sentiment that would fit the area.

Now, I wanted to show you what some practice will do once you learn how to watercolor.  You might remember this card from a few weeks ago.

IMG_4223

I'm sure no one will notice all the things that are wrong with this card, but I wanted to get this stamp set out this week and give it another go now that I've had a lot more practice.  Don't get me wrong, this "controlled" method of watercolor is not easy for me, but I want to be able to do it, so I keep working and practicing it.  Here is the card I watercolored yesterday using the beautiful Birthday Rose Corner Stamp.

IMG_5329

My contrast and shadows are getting better each time I practice!  I hope you all have a wonderful weekend and are staying safe and well.  We had tornadoes late yesterday to make "Sheltering in Place" a little more exciting.  There are no basements in Texas but we do have a four-foot-tall crawl space.   We got all of our necessary papers and medicines ready to go down that rabbit hole if needed but we never had to go down there.  YAY!!
Vickisignature
Supplies


Friday, April 10, 2020

Get Well Soon Loving Heart with Scallop Pinpoint Loving Heart Cutouts


Hello everyone.  I am here today with a card that I seem to be needing a lot of these days; A Get Well Soon card.

I wanted to use some of my pretty spring papers from Memory Box to pull a get well card together.  I also want to layer them up so I pulled out my Scallop Pinpoint Loving Heart Cutout Dies because the shape is an exact match (Memory Box did that on purpose)  to the Get Well Soon Loving Heart Die.


To begin I selected one of the Spring Plaids from the Springtime Bouquet Paper Pack.  Then I selected 3 additional sheets of paper from the Cottage Stripes and Dots Paper Pack in coordinating colors to the plaid.  In this case, that was pastel blue stripe, pastel pink stripe, and pastel lavender stripe.

 I stacked the 4 papers together and put a bit of low tack tape on each side to keep them lined up.  Next, I took a wide piece of low tack tape and aligned the 4 Scallop Pinpoint Loving Heart dies inside the other until I had all four of them centered.  First I cut the paid piece which would be my top layer.

Next, I removed the largest die and cut my Pastel Pink Paper with the three remaining dies, using the first cutout to make sure I had it aligned the same.   Next, I removed the Plaid Paper and another die then used the pink cutout to line up my dies in the same spot and run it through my die cut machine. I did this until all four layers of the patterned paper were cut with a heart in the center.  This gives you the stacked look that you see in the photo.  At the bottom layer, I put a scrap of cardstock behind the smallest heart, so it appears that you actually have 5 layers.  This is one reason that I chose the text weight of the patterned paper versus using thick cardstock.  All of my cardstock is at least #110, so it would have been a lot hard to cut that many layers.


For the Get Well Soon loving Heart, I chose Gold Foiled cardstock.  I was also able to cut some really small hearts from the scraps of that gold paper to add to the font of the card.  I have a little group of dies that sits in a magnetic bowl on my desk that are all really tiny and I don't know the brand, but I love to use these little hearts on lots of cards, especially right now.


Because there are so many layers, be sure to use a heavyweight cardstock #110 or higher) for your card base.  If you don't, it will just keep falling flat.

You could also add foam tape between each layer, but because my card is actually going into the mailbox, I kept my layers flat.

You could make some beautiful Easter Cards in this style.  I just happened to need a Get Well Soon card today.  I hope my design gives you ideas for creating your own version of whatever card you need today.

Affiliate Links may be used at no additional cost to you.


Memory Box Get Well Soon Loving Heart
Shop at:
SSS
Memory Box Scallop Pinpoint Kive Heart Cutout
Memory Box Scallop Pinpoint Loving Heart Cutout
Shop at:
SSS
Memory Box Springtime Bouquet Patterned Paper
Shop at:
SSS
Memory Box Springtime Stripes & Dots
Shop at:
SSS
Ranger Multi Medium Matte
Shop at:
SSS
ScraPerfect No Clog Tip for Ranger Multi Medium Matte
Shop at:
SSS
Teflon Bone Folder
Teflon Bone Folder
Shop at:
SSS
Xyron Create-A-Sticker - 5 inch
Shop at:
SSS
Xyron Create-A-Sticker - 5-Inch Refill
Shop at:
SSS

Monday, April 6, 2020

A Simple Card Made With Stylish Memory Box Products


Hello everyone.  It's Vicki here with you today to share a really simple but beautiful card with you.  It's no secret that I like geometric dies and I think a lot of that comes from my love of Art Deco Style. 

Recently, I took a watercolor card class and learned that Hot Press or Bristol Paper doesn't really hold up well when you need to use it with a lot of water, but this is a cold-pressed paper, so it isn't an issue at all.  It is also a really beautiful paper for ink blending and splatter techniques, which I really love to do. The texture of the paper on the front side reminds me of pinwale corduroy, only not that deep.  It's super cool.


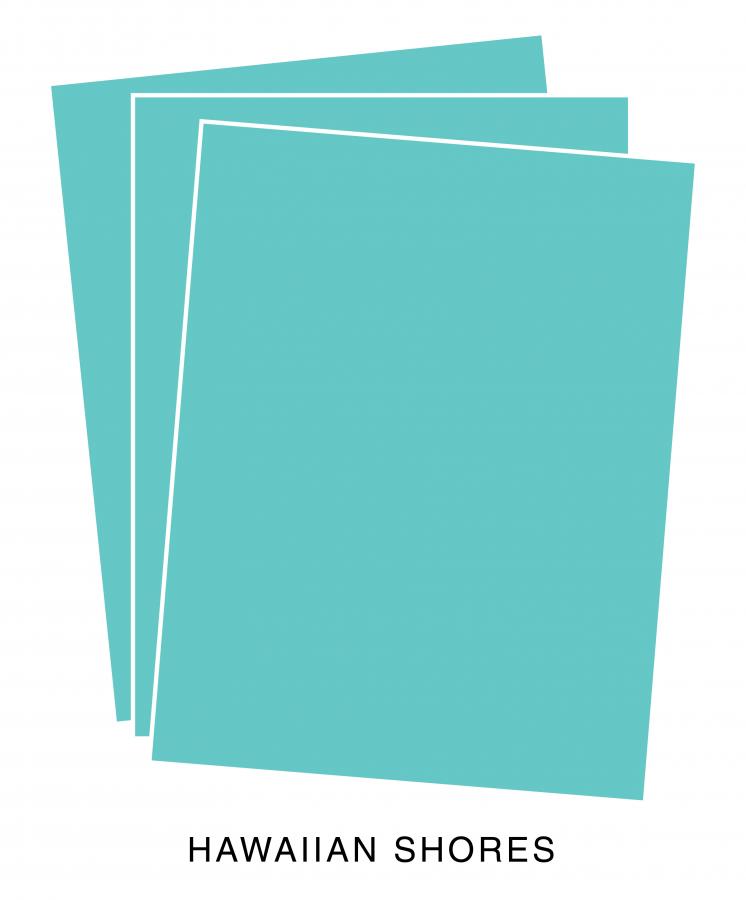
To start this card, I used an ink blending brush on a sheet of the new Memory Box Watercolor Paper that comes in a 4.5 x 5.75-inch sheet.  I blended Hawaiian Shores Ink over the center of the panel.  and gently worked my way out all the way around this piece.  Next, I gave it a generous amount of splatter with Daniel Smith Iridescent Aztec Gold Watercolor.  You need to use a very small, fine brush with long bristles to get this small splatter.  I have a Princeton Neptune Script Brush in Size 1 for this purpose.  I set that aside to dry for a little while, and moved on to my die-cutting.

The Stylish Rectangle Trio has three different sizes of rectangles but I cut the smaller two from Gold Foiled Cardstock.  I also cut the 4 different layers of the Birch Press Design Sparkler Butterfly from colored Glitter Cardstock that Memory Box recently released. The gold glitter card is from Simon Says Stamp but the rest is Memory Box.  I assembled the butterfly layers using ranger Multi-Medium Matte then laid a heavy 5 x 7 glass block on the top to let it finish drying.


Going back to my ink blended panel, I decided I also wanted to add some iridescent gold shimmer mist to the panel.  This spray is very fine, but if you haven't used it for a few days, it can put some larger drips on there as well.  I didn't mind that as this gives it that somewhat distressed look that feels more organic.  If you want just the fine mist, be sure to spray it into a box or whatever first until the mist is coming out evenly without the big drops.  Be sure to wipe off the hole on the nozzle for a "clean" spray. 


Once that dried, I die cut the panel with the Matinee Rectangle Layers Die in the largest size.  I made a card base from Hawaiian Shores Cardstock and started assembling my card. I ran the Stylish Rectangle Frames, very carefully, through my 5-inch Xyron and then ran it through my die cutting machine with an embossing sandwich so that I didn't have to spend time going around each frame with a little tool and then still have gooey strings to pull off.  This trick works every time. It saves a lot of time and frustration in dealing with glue strings.  And because the frames have such a fine line, this was much easier to do than trying to use a liquid adhesive that I got all over the outside of the gold foil.  That would ruin the look.  I added some sequins then added the gems onto the sequins to cover the little holes and add a lot of sparkle and shine to my card.

Affiliate Links may be used at no additional cost to you.

Birch Press Design Sparkler Butterfly Layer Set
Shop at:
SSS
I2P Cardstock - Hawaiian Shores
Shop at:
PTI/ITP
I2P Perfect Match Hawaiian Shores
Shop at:
PTI/ITP
Kokuyo Long Dot Adhesive
Shop at:
SSS
Memory Box Delicate Pastel Glitter Cardstock
Shop at:
SSS
Memory Box Matinee Rectangle Layers
Shop at:
SSS
Memory Box Stylish Rectangle Trio
Shop at:
SSS
Memory Box Twinkling Jewel Glitter Cardstock Pad
Shop at:
SSS
Ranger Multi Medium Matte
Shop at:
SSS
ScraPerfect No Clog Tip for Ranger Multi Medium Matte
Shop at:
SSS
Xyron Create-A-Sticker - 5 inch
Shop at:
SSS
Xyron Create-A-Sticker - 5-Inch Refill
Shop at:
SSS