Saturday, December 2, 2017

Red Christmas

This week's Fusion Challenge is Red Christmas and since I love using Red at Christmas, I wanted to join in.  I use a lot more red during the holiday season.  In fact, more than the rest of the year combined. It always says "festive" and I enjoy it.  I particularly like vibrant reds and scarlet tones paired with gold or silver and I have a second card today using those colors.  Let's face it, I love metallics or shimmery papers and I use them as often as I can. When I started stamping a couple of years ago, I loved the look of heat embossing but I was terrible at it. I got mixed results and most of them time it didn't look that good.  Because I loved it so much, I kept trying until I figured out how to make it work for me.  I got very good at doing it and I rarely mess it up anymore thank heavens. My powder tool is Baby Powder with a fluffy brush.  I like the feel of it and it has worked for me way better than my EK Success Powder Tool or Powder Pouch.

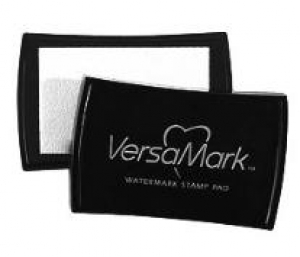
Between all the gold embossing I do and all the beads I've made for Christmas, I have used a lot of Versamark Refill although the majority of it has been for the beads.  I have a container of UTEE (Ultra Thick Embossing Enamel) that I've had for 2+ years that I have often wondered if I could ever use it all but with bead making, I have used almost the entire container.  When I got up on Monday morning (a.k.a. Cyber Monday), I had an e-mail from Michaels offering an extra 30% off of sale prices and free shipping for that day only, so I checked to see if they had Versamark Ink Pads and UTEE (my Versamark pads do get icky looking so I needed to replace a couple of them).  They did, so I got both for 30% off of the already half priced items and I didn't have to set foot out of the house. SCORE!  The problem with this is that I also saw some paper that I've become a fan off that wasn't available anywhere except in the actual store.

This past summer I went in to Michaels looking for a specific item and by chance found these cardstock stacks from a company called Craft Smith.  They have a big bunch of those on sale at Michaels for $5.99 right now so I did something I don't do very often - I drove into Tulsa after a couple of doctor appointments to see it in person. They had so many different ones and I dragged 5 of them home.  There was a particular one I wanted that they didn't have called "North Pole Gazette", but I found a suitable replacement called "Always Christmas".  This red and gold foiled paper was in this stack plus I got one in Rose Gold, Christmas Metallics (Gold, Silver and Rose Gold), and one Gold & White.  Did I mention that these were $5.99?  I could have brought many more home, but I didn't.

Specialty papers that have foil or metallics of any kind tend to run about $2.00 for a single sheet so I didn't think I could pass up a whole pad of those when they were only $6.00.  The Craft Smith brand tends to be thicker, heavier paper and one of the clerks told me it cuts better for her.  The paper is much smoother than most so it does cut cleaner.  I understood what she meant as I felt like I was constantly replacing my trimmer blades before even though I spent the extra money to get the titanium ones.  I can't stand raggedy looking cuts so I finally got a Tonic Personal Trimmer after I broke the handle off of my Creative Memories Personal Trimmer. That trimmer was never as good as the Tonic even when it was brand new.  I am surprised at how good this trimmer cuts every kind of paper and I plan to eventually get the larger version for my studio (after we move). I mostly cut everything with a die, so it isn't as big an issue as it use to be but I remember how it was a constant source of  irritation.  The smaller sized trimmer will cut up to 9 inches so I still have to use my big Fiskars trimmer for the longer sheets.

Getting back to my card, I got the Merry & Bright Stamp TV Kit that released last month I think it was. With my kit I ordered 2 of the cube ink pads to try them out; Cherry Red and Fresh Asparagus.  These inks stamp beautifully in one layer.  I do love the translucence of many dye inks but sometimes I want a better coverage without stamping multiple times. To get equal coverage in similar colors of my regularly used inks, I would have to stamp at least three layers. The red really stains but since Poinsettias are mainly pink or red, I guess it isn't a big deal. I know it doesn't affect the stamps, it's just my inner neat freak coming out.  In case you hadn't noticed, all red family inks stain, even many light pink inks.  They stain worse than black.  Now granted, I don't have a big variety of ink brands but I have tried several.

The inks I use most of the time are Papertrey and Altenew.  I have 48 colors in each of these brands.  I have Distress Inks in cubes and Distress Oxide inks in the colors that have been released so far but I only use those for techniques so I'm thinking of adding some of the Gina K Inks to my collection and moving my Distress Ink cubes to another area.  I also have several of the Tsukineko Brilliance Inks which are pigment (and Pearlized) and opaque and give a completely different look so I could store the Distress Inks with those as I have another container that is empty.  That would make enough room in my Ink Storage Chest that I use for all my ink cubes to add the Gina K Collection to my tools.  I am that impressed with these inks.  It all depends on what look you are going for.

This 7 drawer jewelry chest is what I use for my inks.  I primarily use ink cubes because the Rheumatoid Arthritis makes it difficult to manage the larger sized pads when I use my MISTI. I can control the ink application better in cases where I need to take the ink to the stamp versus the stamp to the ink.  That is most of the time.  I've even started using the Mini MISTI for the banners I tend to use for my sentiments.  My top drawer has a few Distress Inks in colors I almost never use along with the two Gina K Inks and this is where I'm thinking I will switch out the ink pads as I add a few Gina K Inks at a time.

I stamped these poinsettias, leaves and holly using the two Gina K Inks.  This was a single layer of ink.  I stamped the holly berries in the same Cherry Red but I decided to put Nuvo Drops over the top in the color Autumn Red.  See how smoothly those inks stamped?  It's pretty darn impressive and I am anxious to add a few colors at a time.


The Red and Gold Background paper was cut with the WPLUS9 Gift Card Layers Die which cuts the full A2 sized Stitched Rectangle.  I also used some of the Gina K Designs Heavy Base Weight White #120 Cardstock for my card base and the sentiment panel which was cut using the Gina K Designs Decorative Label Dies.  Her coordinating dies in this Merry & Bright Stamp TV Kit are also incredibly easy to line up and cut after you've stamped them.  I stamped the sentiment in Versamark and Heat Set it with Simon Says Stamp Antique Gold Embossing Powder, then stamped it again and heat set it again just to make the sentiment a bit bolder.  This is my favorite new trick learned from Jennifer McGuire this year.  I attached that to the background panel with Foam Tape.  I adhered the holly and poinsettia with foam tape as well.

I have several other projects coming up this next week and I hope you'll come back again to check them all out.  Thanks so much for stopping by! The supplies I've used are linked below for your convenience.

Simon Says Stamp Antique Gold Embossing Powder
Shop at:
SSS
Kokuyo Long Dot Runner Adhesive
Shop at:
SSS
WPLUS9 Gift Card Layers Designer Dies
Shop at:
SSS
Gina K Designs Stamp TV Kit - Merry & Bright
Shop at:
GKD
Versamark Ink
Versamark Ink
Shop at:
PTI | SSS
Wagner Heat Tool
Wagner Heat Tool
Shop at:
SSS
Scotch 3M Faom Tape
Scotch 3M Faom Tape
Shop at:
SSS
Tonic 6 Inch Personal Trimmer
Shop at:
SSS
Gina K Designs Cherry Red Ink Cube
Shop at:
GKD
Gina K Designs Fresh Asparagus Ink Cube
Shop at:
GKD
Gina K Designs Heavy Base Weight White Cardstock
Shop at:
GKD
Gina K Designs Decorative Label Dies
Shop at:
GKD
Nuvo Crystal Drops - Autumn Red
Shop at:
SSS

Friday, December 1, 2017

Make it Monday #305 - Love of Layers

This week's Papertrey Ink Make it Monday Tutorial #305 is "Love of Layers" by Laurie Schmidlin and shows us how to add lots of layers and texture to our projects. I am a big fan of Laurie's work and to get to see her process was a treat for me.  Laurie showcased her layers by adding ink to her die cuts and by using foam tape.  I love this look but I don't do it often because I know it might not fit in my envelope after and it can add to the cost of postage.  However, given the season, I was all in for this challenge. I  try to keep a few 6 x 9 padded mailers on hand for just such an occasion.


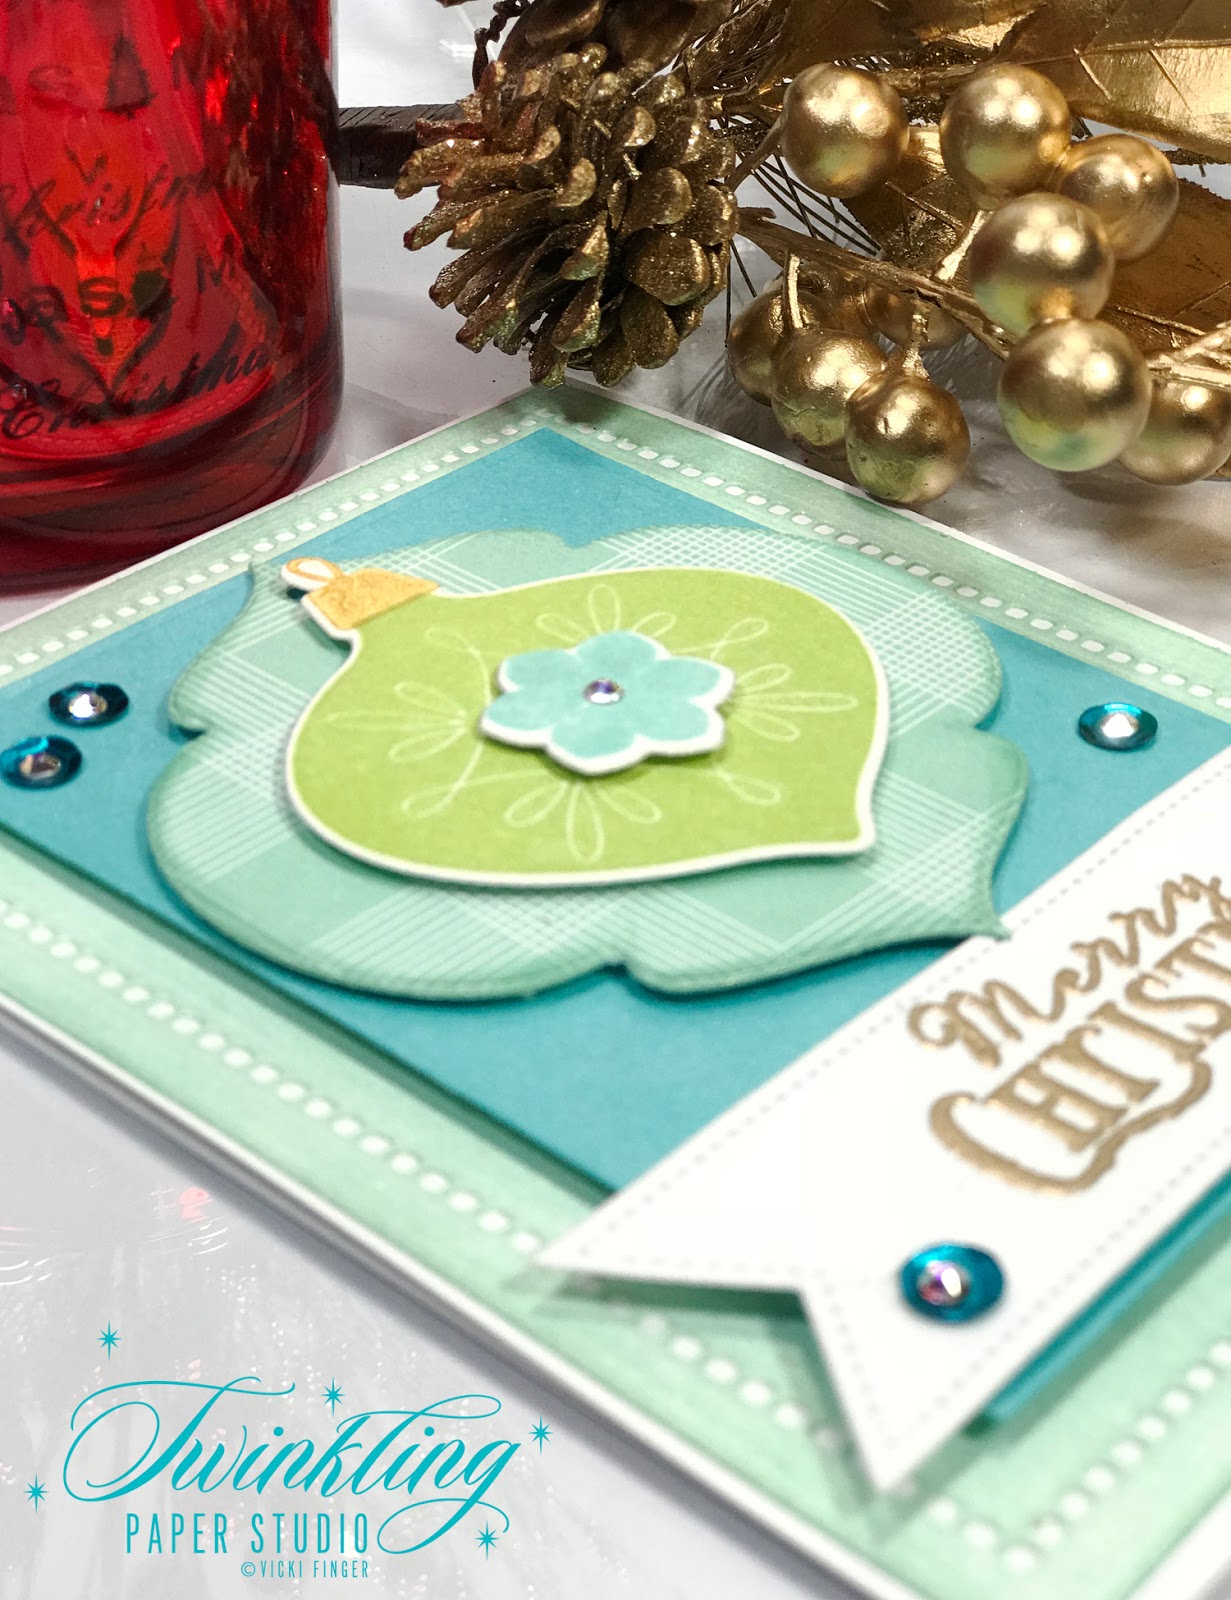
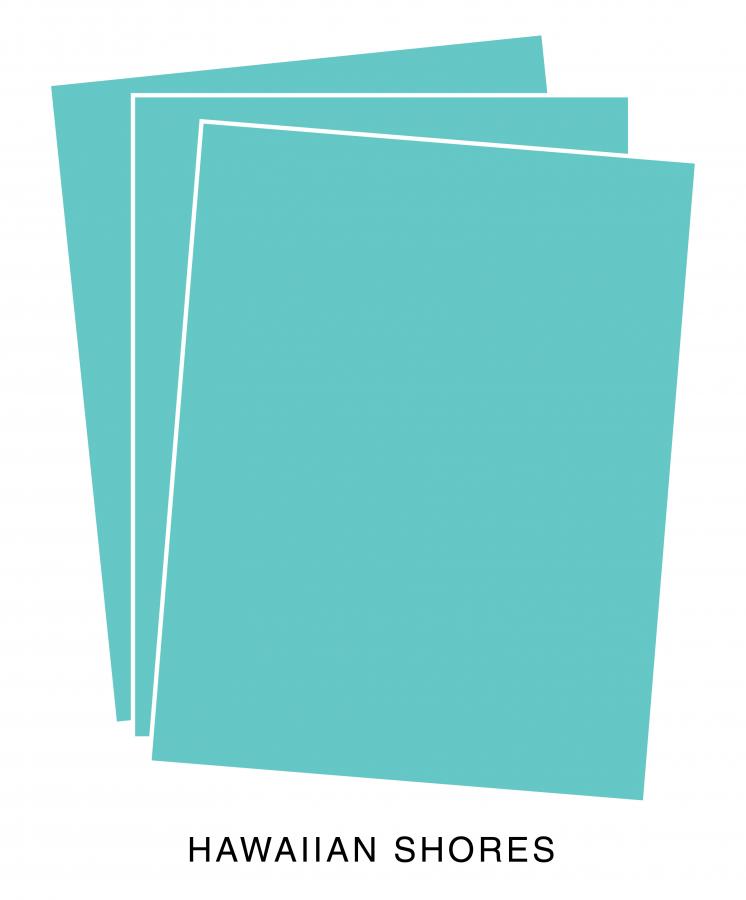
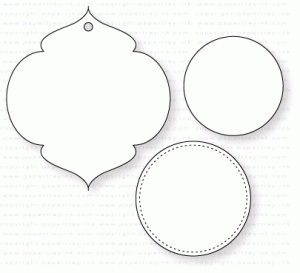
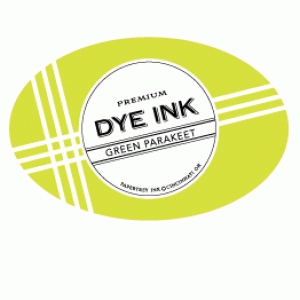
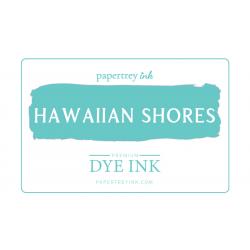
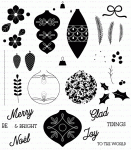
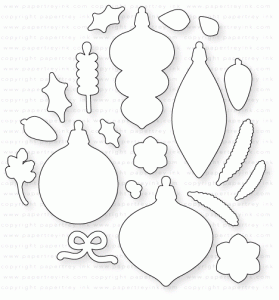
My card started with a top folding card base made from Stamper's Select White Cardstock.  I've been so anxious to use Brilliant Baubles so I die cut a few of each shape I planned to used and stamped them using my MISTI so that I could double or triple stamp for better color saturation.  I'm participating in the Merry Monday Christmas Challenge # 267 with this card and their colors dictated my color scheme; Hawaiian Shores and Green Parakeet with White/Silver or Vellum.

For the next layer, I wanted the texture of Linen Cardstock but I added lots of sponging around the outside after die cutting and embossing the panel. You can't really tell in photos, but it is there.

I have been using the Gemini quite a bit on some of my larger dies or those that can be embossed because even with a tan or grey embossing pad, it cannot come close to the level of detail from the Gemini. I also noticed that Simon Says Stamp is planning to carry these machines in both the regular and junior sizes but they aren't available yet. It does take a bit of practice to figure out the sandwiches and I encourage you to keep your manual handy to check recipes because I accidentally cut through my rubber embossing mat and had to order a new one.  The thing is, because it is so thin, you wouldn't think it could do anything, but the embossing is second to none.  I'm still using my Cuttlebug for most of my die cutting, but if it is one that can be embossed, I'm hauling it into my kitchen right now because that's the only place I have room to set up the Gemini. Don't get me wrong, I think it has a smaller overall footprint than the Cuttlebug but I have a system in place for this house that needs to stay in place until we move next spring.  Since our kids are grown and gone, it isn't an issue to leave it sitting on one end of my kitchen island.

I had stamped all of my ornaments last night so they were completely dry before I hit them with some Iridescent Gold Glimmer Mist and set some little jewels in place. After I sponged the ink onto the linen cardstock paper, I also misted it.  With the texture, the shimmer mist kind of settles in some of the deepest corners of that paper and really catches the light in real life.  I mounted that directly to my card base with my favorite Kokuyo dot runner.

Next I cut the next size smaller in the hemstitch rectangles from Hawaiin Shores Cardstock but without the hemstitched detail layer this time.  It just cuts a plain regtangle when you do it that way but I really like the crisp, die cut edges.


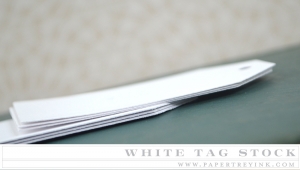
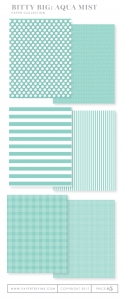
Using a piece of the larger Bitty Big Plaid in Aqua Mist adhered to a piece of Papertrey Ink #160 Tag Stock I die cut Tag Sale #12.  If I need to do this again, it would have been much easier in the Gemini vs. my Cuttlebug.  I had to run it through a few times to get it to cut the hanger part completely.  After cutting that, I inked up the very outside edges with a Mini Ink Blending Tool in Aqua Mist Ink.  That just helps to separate that layer from the background layer. I attached that with foam tape.  Next came the ornament that I had stamped in Green Parakeet with another layer of foam tape.  I also stamped one of the small flowers from the set in Hawaiian Shores and added a little gem to that.  The banner is from Keep It Simple Frames and is stamped with the "Merry Christmas" greeting from Beautiful Berries: Winter in Versamark and heat set with Simon Says Stamp Antique Gold Embossing Powder.


Once I had this card all finished, all the layers assembled and, of course, all the photos taken and edited, I decided it needed a little pop of color from some sequins. I adhered them using Ranger Multi Medium Matte and then added a little gem in the center of each sequin.

Thanks so much for stopping by today.  You can find the supplies I used linked below.

Stamper's Select White Cardstock
Shop at:
PTI
Simon Says Stamp Antique Gold Embossing Powder
Shop at:
SSS
Kokuyo Long Dot Runner Adhesive
Shop at:
SSS
Papertrey Ink Hawaiian Shores Cardstock
Shop at:
PTI
Papertrey Ink Beautiful Berries: Winter
Shop at:
PTI
Papertrey Ink Keep it Simple Frames
Shop at:
PTI
Wagner Heat Tool
Wagner Heat Tool
Shop at:
SSS
Cuttlebug Die Cutting Machine
Shop at:
SSS
Ranger Multi Medium Matte
Shop at:
SSS
Papertrey Ink White Tag Stock #160
Shop at:
PTI
Papertrey Ink Tag Sale #12
Shop at:
PTI
Perfect Match Green Parakeet
Shop at:
PTI
Perfect Match Hawaiian Shores
Shop at:
PTI
Papertrey Ink Brilliant Baubles
Shop at:
PTI
Papertrey Ink Brilliant Baubles Dies
Shop at:
PTI
Spellbinders Hemstitch Lace Dies
Shop at:
SSS
Fresh Snow Linen Cardstock
Shop at:
PTI
Gemini Full Size Die Cutting Machine
Shop at:
SSS
Aqua Mist Bitty Big Prints
Shop at:
PTI
Perfect Match Aqua Mist
Shop at:
PTI

Tuesday, November 28, 2017

Inspired By All The Little Things #74

Today's card is for the Inspired by All The Little Things Challenge. I wanted to create a card that was less fussy and more graphic feeling to fit in with the challenge. I like this sort of card for sending to some of the men in my life in particular, although I know some women who have a definite preference for clean graphics as well. I never feel like I do a very good impression of shabby chic but I do try once in a while.  Some people (Melissa Phillips comes to mind) can do that look so very well and I'm always inspired by the use of so many colors, layers and textures.

There are a lot of fun challenges going on right now for the holiday season and I am having a lot of fun playing in as many of them as I possibly can. But, as you know, I like to give you some general tips and guidelines for how I created my card.

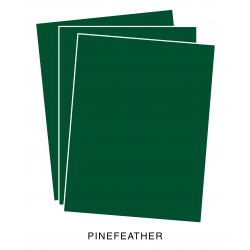
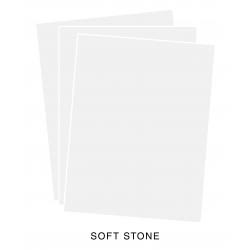
I started by choosing a wood grain paper for my large star.  It's okay to change the shape of that element, but I didn't need to. I have several sheets of this and if you don't like the color it comes in, you can change it up easily by coloring over the top with a Copic Marker.  In this case I used a Black (100) Copic Marker to deepen the color.  It doesn't show up that well in the photos, but you can easily see the wood grain pattern when looking at the card in person.  I also created a card base from Soft Stone Cardstock.  I wanted a slight pattern for the main background panel and I chose this repeating text background paper.  It's hard to tell in the photo, but the text is done in green on a pale ivory paper.  To highlight that green, I also created a narrow mat behind it from Pinefeather Cardstock.

My wood grain paper is a text weight paper so in order to make it a somewhat more substantial weight, I cut three stars from True Black Cardstock and glued them one of top of the other.  I used my powder tool on the wood grain star and placed the negative into my MISTI to hold the positive in place in case I needed to stamp it again (which I did). I stamped the Merry & Bright sentiment from the Gina K Designs Merry & Bright Stamp TV Kit in Versamark and heat set it with my favorite Simon Says Stamp Antique Gold Embossing Powder, twice. I love this technique so much!  It makes such a difference in how bold your sentiment is. I did a light mist of Tsukineko Sheer Shimmer Spritz over just the star and when it was dry I adhered it with some Scotch 3D Foam Tape to my card front.  For the lower part of the greeting, I die cut the "holiday" word from Gold Foil Cardstock, and the "Greetings" banner from Concord & 9th's Season of Cheer Die.  All together, the sentiment says "Merry & Bright Holiday Greetings".  It's festive yet crisp and graphic.


Most of my Christmas Cards have already been sent out but I will still do a few more for things as they come up. There's always a few I don't think of when doing my initial list.

Thank you so much for stopping by today to see my project.  For your convenience, the supplies I've used are linked below.

Simon Says Stamp Antique Gold Embossing Powder
Shop at:
SSS
Kokuyo Long Dot Runner Adhesive
Shop at:
SSS
Gina K Designs Stamp TV Kit - Merry & Bright
Shop at:
GKD
Versamark Ink
Versamark Ink
Shop at:
PTI | SSS
Concord & 9th Season of Cheer Dies
Shop at:
SSS | C+9
Cuttlebug Die Cutting Machine
Shop at:
SSS
Papertrey Ink Pinefeather Cardstock
Shop at:
PTI
Papertrey Ink Soft Stone Cardstock
Shop at:
PTI
Papertrey Ink True Black Cardstock
Shop at:
PTI