There are a lot of fun challenges going on right now for the holiday season and I am having a lot of fun playing in as many of them as I possibly can. But, as you know, I like to give you some general tips and guidelines for how I created my card.
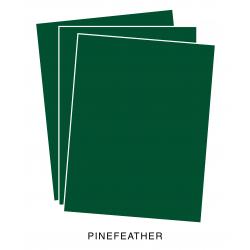
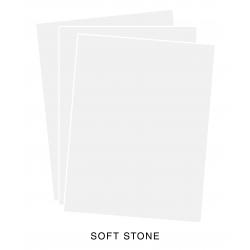
I started by choosing a wood grain paper for my large star. It's okay to change the shape of that element, but I didn't need to. I have several sheets of this and if you don't like the color it comes in, you can change it up easily by coloring over the top with a Copic Marker. In this case I used a Black (100) Copic Marker to deepen the color. It doesn't show up that well in the photos, but you can easily see the wood grain pattern when looking at the card in person. I also created a card base from Soft Stone Cardstock. I wanted a slight pattern for the main background panel and I chose this repeating text background paper. It's hard to tell in the photo, but the text is done in green on a pale ivory paper. To highlight that green, I also created a narrow mat behind it from Pinefeather Cardstock.
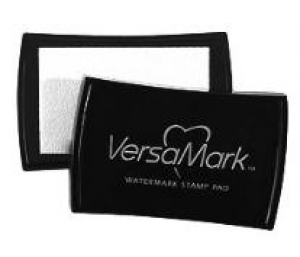
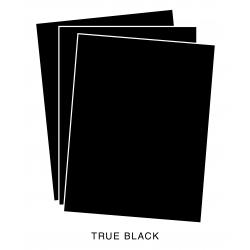
My wood grain paper is a text weight paper so in order to make it a somewhat more substantial weight, I cut three stars from True Black Cardstock and glued them one of top of the other. I used my powder tool on the wood grain star and placed the negative into my MISTI to hold the positive in place in case I needed to stamp it again (which I did). I stamped the Merry & Bright sentiment from the Gina K Designs Merry & Bright Stamp TV Kit in Versamark and heat set it with my favorite Simon Says Stamp Antique Gold Embossing Powder, twice. I love this technique so much! It makes such a difference in how bold your sentiment is. I did a light mist of Tsukineko Sheer Shimmer Spritz over just the star and when it was dry I adhered it with some Scotch 3D Foam Tape to my card front. For the lower part of the greeting, I die cut the "holiday" word from Gold Foil Cardstock, and the "Greetings" banner from Concord & 9th's Season of Cheer Die. All together, the sentiment says "Merry & Bright Holiday Greetings". It's festive yet crisp and graphic.
Most of my Christmas Cards have already been sent out but I will still do a few more for things as they come up. There's always a few I don't think of when doing my initial list.
Thank you so much for stopping by today to see my project. For your convenience, the supplies I've used are linked below.
 Simon Says Stamp Antique Gold Embossing Powder Shop at: SSS |  Kokuyo Long Dot Runner Adhesive Shop at: SSS |  Gina K Designs Stamp TV Kit - Merry & Bright Shop at: GKD |  Versamark Ink Shop at: PTI | SSS |
 Concord & 9th Season of Cheer Dies Shop at: SSS | C+9 |  Cuttlebug Die Cutting Machine Shop at: SSS |  Papertrey Ink Pinefeather Cardstock Shop at: PTI |  Papertrey Ink Soft Stone Cardstock Shop at: PTI |
 Papertrey Ink True Black Cardstock Shop at: PTI |


Oooh, yes, I like this a lot!! I wouldn't think to put black and green together with gold, but it looks great on your card! Also I like your interesting mix of fonts! It all works together handsomely.
ReplyDeleteVicki this is gorgeous and so thoughtful! The challenge is to create a card how you are inspired and you definitely did that---love it! Thank you for joining us at inspired by all the little things!
ReplyDeleteBeautiful! Fabulous take on the inspiration photo, Vicki!
ReplyDeleteSo very pretty Vicki! Your card screams elegance! Love all the golden details!
ReplyDeleteAnd your sentiment is bold. And bright. And beautiful. I love that you went for the woodgrain look on the black star like I did. I think that is so cool in the inspiration. Your creation is incredibly elegant. I love it.
ReplyDeleteFABULOUS texts/fonts on your card! Thanks for joining us at Inspired By:))
ReplyDelete