The cards I made today, I wanted to do a clean and simple card featuring an iconic image that we naturally associate with Christmas - holly leaves. I have a stamp set that contains holly images, and I even have a few different holly dies that I could have used. But I wanted that little pop of color that comes from stamping and I wanted an image large enough to work well with the size of my sentiment "Season's Greetings".
I chose the sentiment from the Simon Says Stamp Big Scripty Greetings Stamp Set but because I wanted to add some additional color and shading to my holly sprig, I stamped that first. I used the Simon Says Stamp Poinsettia Stamp set from a year or two ago to create my holly leaves. I started with 8 panels of 4.25 x 5.5 inch Stamper's Select White Cardstock. Using my Mini MISTI , I lined up the two poinsettia leaves to look like holly and then stamped them down.
 For the first set of 4 cards with the Fresh Asparagus Coordinating Cardstock, I used New Leaf and Pine Feather Inks from Papertrey Ink. I stamped with the New Leaf first and then using a Mini Ink Blending Tool, I added some of the darker color to the base of the leaves. This took literally a few seconds but added a lot of depth to the leaves.
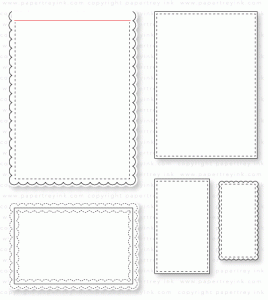
For the second set of 4 cards, I stamped with Altenew's new Green Meadows family of inks using Just Green and Hunter Green for the added depth. That Just Green is a gorgeous "Kelly" green and one that I will use a lot. Once I had the "holly" leaves stamped, I took all 8 panels and die cut them with the largest Simon Says Stamp Stitched Rectangles Die. I also cut 8 backgrounds, 4 in Gina K Designs Cherry Red and 4 in Gina K Designs Fresh Asparagus using the largest die from the WPLUS9 Gift Card Layers Die Set. I actually really love both these Gina K colors and I have the inks, but they weren't handy, so I used what was handy.
Next I placed my sentiment how I wanted it on my card front, then I picked it up with the MISTI door and stamped each panel with Versamark and heat set it with Simon Says Stamp Antique Gold Embossing Powder. I stamp, then sprinkle with powder, stamp, sprinkle with powder etc. and then heat set at the end of each 4 panels. I let my heat tool warm up while I am doing the stamping and sprinkling. If I try to do more than that, then I end up laying something where it shouldn't be and mess it up so I just do 4 at a time. You could also use black ink if that is the style you like. If you want the shine of heat embossing you can always use clear powder.
At this point I wanted just a touch of bling so I used my Wink of Stella Clear Shimmer Pen to go over the leaves and started adding some Nuvo Drops but I could tell instantly that my three dots of Nuvo drops was going to turn into one big goopy mess, so I stopped and got my Red Satin Sequins out instead. I adhered them with Ranger Multi Medium Matte. To get the little bit of Nuvo Drops off, I just scraped it with the tip of my tweezers and put a sequin over the top. I did it so quickly that no one will ever know which card it was unless they are inspecting it. I'm not sure where I got these sequins with the Satin Finish, but for some reason I really like these red ones and have used them several times with holly leaves as my berries.
There are a few ways you can break this card into small pieces to make several at once. When I started, I wasn't sure how much uninterrupted time I would have so I figured out my design first and pulled out the supplies I needed - stamps and dies. Then I cut my cardstock down into panels in all three colors I was planning to use. Next I scored and folded all my card bases. Once I had that done, I set up my card front in my MISTI tool and grabbed the inks I was planning to use.
I keep the 2 brands of ink cubes that I use most in a tall 7 drawer jewelry chest just to my left on my desk that I got from US Acrylics on Amazon. You can see it here. This has been a fantastic find for me although it isn't currently available on Amazon. I have tried several drawer units but none of them are nearly as well made as the US Acrylics brand. I wanted to get another of these for a cosmetic storage solution in our bath, but they never did come back in stock so I got two of this one from US Acrylics and stacked them. I put thick rubber feet on the bottoms so it won't scratch my vanity and it won't slide around and fall down. I can fit almost everything in the two units (not my tall bottle of foundation or larger eye shadow palettes) and this has worked as a solution. My husband is a lot happier because I don't have my stuff laying all over his side and mine of the vanity. I wish I would have tried it sooner. Anyhow....
I find it much easier to handle ink cubes with my MISTI Tool and I have mostly not gotten larger ink pads. If I have any, it is because they came in a kit or something like that. In fact, I wasn't planning to get any brands outside of the ones I had but I have acquired a few different brands via a kit purchase. It's definitely fun to see how other inks work so I do test them usually. When I try to use the larger pads, I often drop them right onto my project which just frustrates me. I don't seem to have this problem with the smaller size.
After I had my panels stamped, I did all of my die cutting at one time including the background panels. Then I did that 2nd stage of stamping (for heat embossing) and when I finished that, I only had assembly left to do. It took less than an hour to create these eight cards and I think any kind of card can be made by doing each little piece of it in stages as time allows. I know it is much less stressful when the holidays come if I have a nice supply of cards to send out. It makes me think of a saying that a teacher used back in grade school, "Inch by inch, it's a cinch."
It's always great if you can take a look at your stamps and see that you can make something completely different than was intended and get a little extra mileage out of them. In this case they are intended to be poinsettia leaves but they worked perfectly as holly leaves. You
Thanks so much for stopping by today! Be sure to check out all the stops along the hop to get even more ideas for building a stash of Holiday Cards.
Vicki Finger (You are here)
The supplies I've used are linked below for your convenience (Affiliate Links may be used).
 Altenew Green Meadows Collection Shop at: ALT |  Cuttlebug Shop at: SSS |  GKD Cherry Red Cardstock Shop at: GKD |  GKD Fresh Asparagus Cardstock Shop at: GKD |
 Kokuyo Long Dot Runner Adhesive Shop at: SSS | 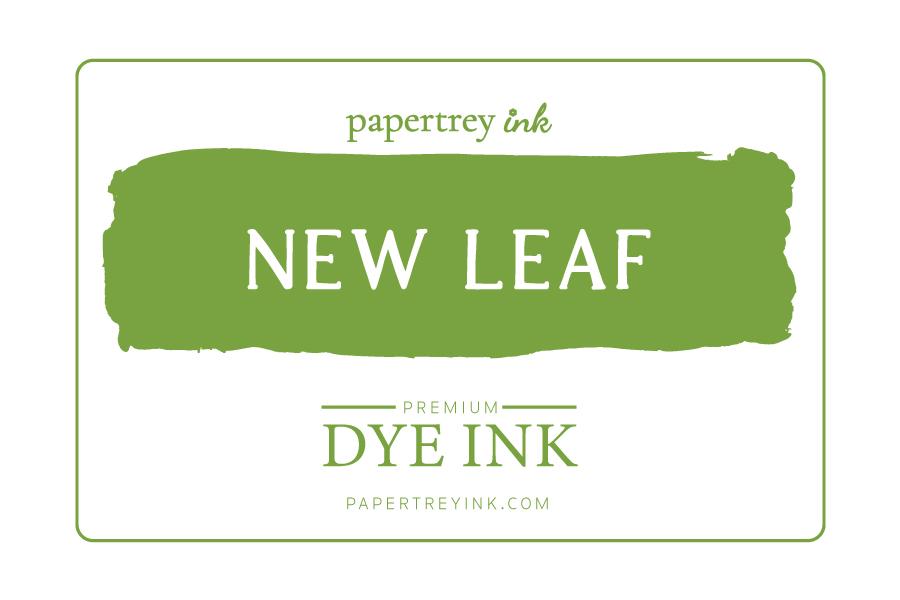 PTI Perfect Match New Leaf Ink Shop at: PTI |  PTI Perfect Match Pinefeather Ink Shop at: PTI |  PTI Stamper's Select White Cardstock Shop at: PTI |
 Ranger Multi Medium Matte Shop at: SSS |  SSS Antique Gold Embossing Powder Shop at: SSS |  SSS Big Scripty Greetings Stamp Set Shop at: SSS |  SSS Poinsettia Stamp Set Shop at: SSS |
 SSS Stitched Rectangles Dies Shop at: SSS |  Teflon Bone Folder Shop at: SSS |  Tim Holtz Mini Round Ink Blending Tool Shop at: SSS |  Tonic 6 Inch Personal Trimmer Shop at: SSS |
 Versamark Ink Shop at: PTI | SSS |  Wagner Heat Tool Shop at: SSS |  Wink of Stella Shimmer Pen Shop at: SSS |  WPLUS9 Gift Card Layers Designer Dies Shop at: SSS |


