Friday, December 1, 2017

Make it Monday #305 - Love of Layers

This week's Papertrey Ink Make it Monday Tutorial #305 is "Love of Layers" by Laurie Schmidlin and shows us how to add lots of layers and texture to our projects. I am a big fan of Laurie's work and to get to see her process was a treat for me.  Laurie showcased her layers by adding ink to her die cuts and by using foam tape.  I love this look but I don't do it often because I know it might not fit in my envelope after and it can add to the cost of postage.  However, given the season, I was all in for this challenge. I  try to keep a few 6 x 9 padded mailers on hand for just such an occasion.


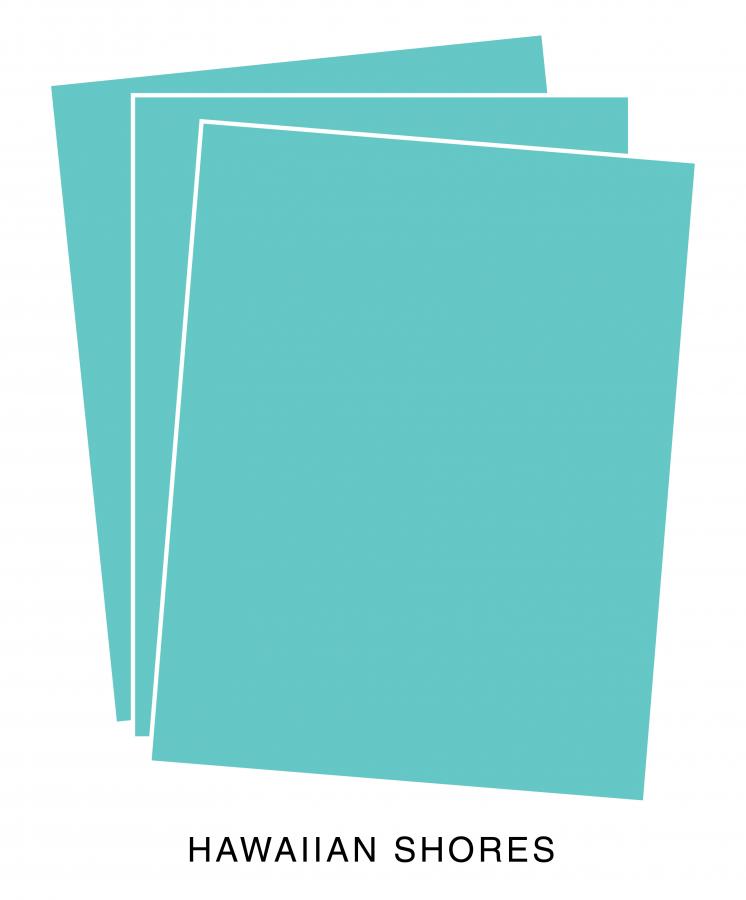
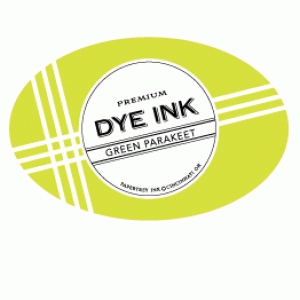
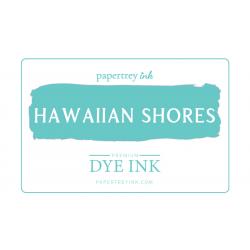
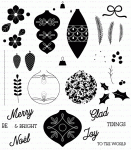
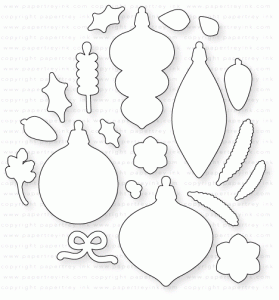
My card started with a top folding card base made from Stamper's Select White Cardstock.  I've been so anxious to use Brilliant Baubles so I die cut a few of each shape I planned to used and stamped them using my MISTI so that I could double or triple stamp for better color saturation.  I'm participating in the Merry Monday Christmas Challenge # 267 with this card and their colors dictated my color scheme; Hawaiian Shores and Green Parakeet with White/Silver or Vellum.

For the next layer, I wanted the texture of Linen Cardstock but I added lots of sponging around the outside after die cutting and embossing the panel. You can't really tell in photos, but it is there.

I have been using the Gemini quite a bit on some of my larger dies or those that can be embossed because even with a tan or grey embossing pad, it cannot come close to the level of detail from the Gemini. I also noticed that Simon Says Stamp is planning to carry these machines in both the regular and junior sizes but they aren't available yet. It does take a bit of practice to figure out the sandwiches and I encourage you to keep your manual handy to check recipes because I accidentally cut through my rubber embossing mat and had to order a new one.  The thing is, because it is so thin, you wouldn't think it could do anything, but the embossing is second to none.  I'm still using my Cuttlebug for most of my die cutting, but if it is one that can be embossed, I'm hauling it into my kitchen right now because that's the only place I have room to set up the Gemini. Don't get me wrong, I think it has a smaller overall footprint than the Cuttlebug but I have a system in place for this house that needs to stay in place until we move next spring.  Since our kids are grown and gone, it isn't an issue to leave it sitting on one end of my kitchen island.

I had stamped all of my ornaments last night so they were completely dry before I hit them with some Iridescent Gold Glimmer Mist and set some little jewels in place. After I sponged the ink onto the linen cardstock paper, I also misted it.  With the texture, the shimmer mist kind of settles in some of the deepest corners of that paper and really catches the light in real life.  I mounted that directly to my card base with my favorite Kokuyo dot runner.

Next I cut the next size smaller in the hemstitch rectangles from Hawaiin Shores Cardstock but without the hemstitched detail layer this time.  It just cuts a plain regtangle when you do it that way but I really like the crisp, die cut edges.
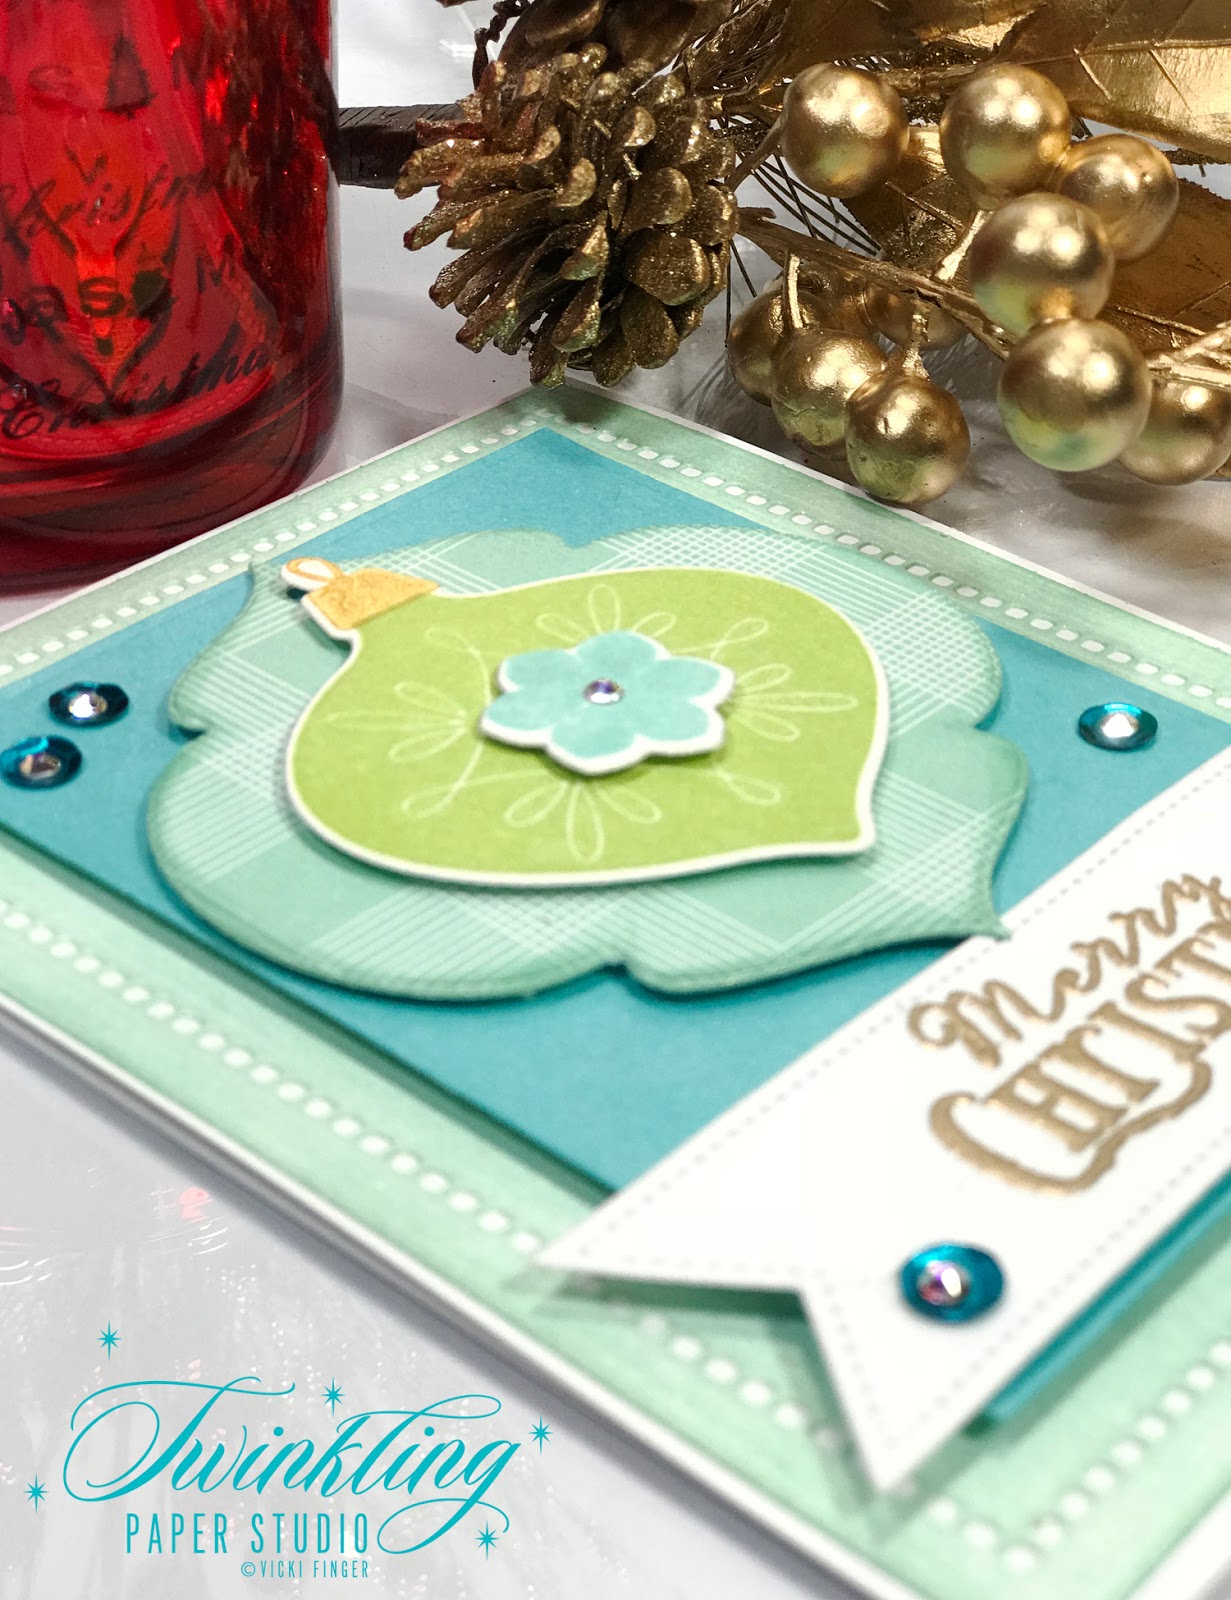

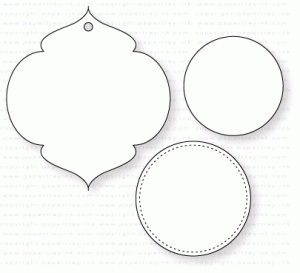
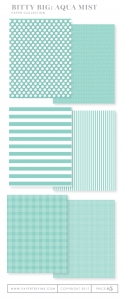
Using a piece of the larger Bitty Big Plaid in Aqua Mist adhered to a piece of Papertrey Ink #160 Tag Stock I die cut Tag Sale #12.  If I need to do this again, it would have been much easier in the Gemini vs. my Cuttlebug.  I had to run it through a few times to get it to cut the hanger part completely.  After cutting that, I inked up the very outside edges with a Mini Ink Blending Tool in Aqua Mist Ink.  That just helps to separate that layer from the background layer. I attached that with foam tape.  Next came the ornament that I had stamped in Green Parakeet with another layer of foam tape.  I also stamped one of the small flowers from the set in Hawaiian Shores and added a little gem to that.  The banner is from Keep It Simple Frames and is stamped with the "Merry Christmas" greeting from Beautiful Berries: Winter in Versamark and heat set with Simon Says Stamp Antique Gold Embossing Powder.


Once I had this card all finished, all the layers assembled and, of course, all the photos taken and edited, I decided it needed a little pop of color from some sequins. I adhered them using Ranger Multi Medium Matte and then added a little gem in the center of each sequin.

Thanks so much for stopping by today.  You can find the supplies I used linked below.
Stamper's Select White Cardstock
Shop at:
PTI
Simon Says Stamp Antique Gold Embossing Powder
Shop at:
SSS
Kokuyo Long Dot Runner Adhesive
Shop at:
SSS
Papertrey Ink Hawaiian Shores Cardstock
Shop at:
PTI
Papertrey Ink Beautiful Berries: Winter
Shop at:
PTI
Papertrey Ink Keep it Simple Frames
Shop at:
PTI
Wagner Heat Tool
Wagner Heat Tool
Shop at:
SSS
Cuttlebug Die Cutting Machine
Shop at:
SSS
Ranger Multi Medium Matte
Shop at:
SSS
Papertrey Ink White Tag Stock #160
Shop at:
PTI
Papertrey Ink Tag Sale #12
Shop at:
PTI
Perfect Match Green Parakeet
Shop at:
PTI
Perfect Match Hawaiian Shores
Shop at:
PTI
Papertrey Ink Brilliant Baubles
Shop at:
PTI
Papertrey Ink Brilliant Baubles Dies
Shop at:
PTI
Spellbinders Hemstitch Lace Dies
Shop at:
SSS
Fresh Snow Linen Cardstock
Shop at:
PTI
Gemini Full Size Die Cutting Machine
Shop at:
SSS
Aqua Mist Bitty Big Prints
Shop at:
PTI
Perfect Match Aqua Mist
Shop at:
PTI

Tuesday, November 28, 2017

Inspired By All The Little Things #74

Today's card is for the Inspired by All The Little Things Challenge. I wanted to create a card that was less fussy and more graphic feeling to fit in with the challenge. I like this sort of card for sending to some of the men in my life in particular, although I know some women who have a definite preference for clean graphics as well. I never feel like I do a very good impression of shabby chic but I do try once in a while.  Some people (Melissa Phillips comes to mind) can do that look so very well and I'm always inspired by the use of so many colors, layers and textures.

There are a lot of fun challenges going on right now for the holiday season and I am having a lot of fun playing in as many of them as I possibly can. But, as you know, I like to give you some general tips and guidelines for how I created my card.

I started by choosing a wood grain paper for my large star.  It's okay to change the shape of that element, but I didn't need to. I have several sheets of this and if you don't like the color it comes in, you can change it up easily by coloring over the top with a Copic Marker.  In this case I used a Black (100) Copic Marker to deepen the color.  It doesn't show up that well in the photos, but you can easily see the wood grain pattern when looking at the card in person.  I also created a card base from Soft Stone Cardstock.  I wanted a slight pattern for the main background panel and I chose this repeating text background paper.  It's hard to tell in the photo, but the text is done in green on a pale ivory paper.  To highlight that green, I also created a narrow mat behind it from Pinefeather Cardstock.

My wood grain paper is a text weight paper so in order to make it a somewhat more substantial weight, I cut three stars from True Black Cardstock and glued them one of top of the other.  I used my powder tool on the wood grain star and placed the negative into my MISTI to hold the positive in place in case I needed to stamp it again (which I did). I stamped the Merry & Bright sentiment from the Gina K Designs Merry & Bright Stamp TV Kit in Versamark and heat set it with my favorite Simon Says Stamp Antique Gold Embossing Powder, twice. I love this technique so much!  It makes such a difference in how bold your sentiment is. I did a light mist of Tsukineko Sheer Shimmer Spritz over just the star and when it was dry I adhered it with some Scotch 3D Foam Tape to my card front.  For the lower part of the greeting, I die cut the "holiday" word from Gold Foil Cardstock, and the "Greetings" banner from Concord & 9th's Season of Cheer Die.  All together, the sentiment says "Merry & Bright Holiday Greetings".  It's festive yet crisp and graphic.


Most of my Christmas Cards have already been sent out but I will still do a few more for things as they come up. There's always a few I don't think of when doing my initial list.

Thank you so much for stopping by today to see my project.  For your convenience, the supplies I've used are linked below.

Simon Says Stamp Antique Gold Embossing Powder
Shop at:
SSS
Kokuyo Long Dot Runner Adhesive
Shop at:
SSS
Gina K Designs Stamp TV Kit - Merry & Bright
Shop at:
GKD
Versamark Ink
Versamark Ink
Shop at:
PTI | SSS
Concord & 9th Season of Cheer Dies
Shop at:
SSS | C+9
Cuttlebug Die Cutting Machine
Shop at:
SSS
Papertrey Ink Pinefeather Cardstock
Shop at:
PTI
Papertrey Ink Soft Stone Cardstock
Shop at:
PTI
Papertrey Ink True Black Cardstock
Shop at:
PTI

Saturday, November 25, 2017

Papertrey Ink November 2017 Blog Hop

It's the 25th of the Month which means that it is time for the Papertrey November 2017 Blog Hop.  This is my second post for today so if you are looking for the Simply Sweet Inspiration Hop, it's the next post.

I really struggle to take accurate pictures of anything with yellow in it and this was no exception. This is some of that special paper that I've used before, albeit very sparingly.  However, once I saw Nichole's Inspiration Image, I knew I didn't have anything else as perfect as this plaid, and so I used it.  I have just 2 full 12 x 12 sheets of this plaid left now.  That means I should be able to get at least 8 and probably 12 more cards before I am completely out of this paper forever.  It is a very old Sandylion paper from back in my scrapbooking days and I have carefully hoarded it to make it last this long.

Nichole always finds the most beautiful inspiration photos to inspire us and also mentioned that it would be a great time to have one last hurrah with some of our favorite autumnal products.  This card uses one from last year and one from this year as well.

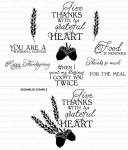
Give Thanks is a favorite set of mine designed by Dawn McVey.  I love the wheat stalks in it, particularly since I am from Kansas (the largest producer of wheat in the world) and it always makes me think of the family farm back home.  In this case, I just wanted to use one of the sentiments from the set.

For my card base, I started with a top folding card made from Kraft Cardstock and worked my way up through the layers.  The very bottom layer of the mat is cut from Sun Shimmer Cardstock, and then a slightly smaller rectangle of the plaid paper was put on top.  I wanted to use a label or banner for my sentiment and this one is always on my desk. I had just one panel of Gold Shimmer Cardstock (another treat from my friend Cindy O.) and I wanted to use that little bit lighter shade. It's an oldie Spellbinders Die that I got a GASC more than a decade ago.  The cool thing about it is that it embosses also.

Because my RA and Fibro have been giving me so much difficulty lately, especially with intricate dies, I gave in and ordered a Gemini Electric Die Cutting Machine which arrived yesterday afternoon. I really wanted to see if this machine would do anything at all with dry embossing because the embossing pad is so very thin that you wouldn't think it would work at all.  HOLY COW!  The embossing is so impressive and about ten times better than I could ever get with an embossing mat in my hand crank die cutting machine.  I was impressed!  You can find more information about the Gemini on the Crafter's Companion Website, HSN, or Blitzy.com as well as others I'm sure.  The Gemini Junior is pretty hard to find right now.  They were only available at Crafter's Companion and HSN before, but I wanted to be able to cut a full sheet if I wanted and I have a dedicated space for my studio, so smaller and more compact was not important to me. I have my little red sidekick and the new thicker cutting pads for it sitting on my desk for small dies.

Some of the embossing detail was there just from the die cutting sandwich but when I ran it through with the embossing sandwich, I was floored at how well it worked!  After that, I took some Summer Sunrise Ink and an inexpensive cosmetic brush using it like a stencil brush, and inked all around the edges of the label. I dried it just a bit with my heat tool to make sure the ink was dry and then prepped my surface with my powder tool to get ready to heat emboss it.  I stamped the sentiment in Versamark and heat set it with Simon Says Stamp Antique Gold Embossing Powder, then stamped it again and heat it again with another layer of embossing powder.  This has become my preferred way of Heat Embossing with at least two layers of embossing powder and sometimes 3 or 4.  This particular card was done with two but I kind of wish I had done one more.


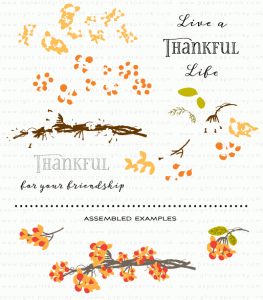
For the final element, I die cut the large branch from the Beautiful Berries: Autumn out of the scrap of Gold Shimmer Cardstock and then stamped it out using Dark Chocolate for the branch, and Melon Berry and Orange Zest for the Bittersweet Berries. I thought it would look strange if I did the die cuts from White or Cream Cardstock and the Gold Shimmer Cardstock took the ink very well.  Just as I was finishing this card, I decided it needed some Nuvo Crystal Drops in Copper Penny for the finishing touch.

Thank you so much for stopping by today.  Be sure to go over to Nichole Heady's Blog to see all the projects from today's hop!

While I made this card for the Papertrey Blog Hop, it will work very well for this week's Color Throwdown Challenge #470 as well!

Simon Says Stamp Antique Gold Embossing Powder
Shop at:
SSS
Kokuyo Long Dot Runner Adhesive
Shop at:
SSS
Simon Says Stamp Stitched Rectangles Dies
Shop at:
SSS
WPLUS9 Gift Card Layers Designer Dies
Shop at:
SSS
Versamark Ink
Versamark Ink
Shop at:
PTI | SSS
Wagner Heat Tool
Wagner Heat Tool
Shop at:
SSS
Cuttlebug Die Cutting Machine
Shop at:
SSS
Papertrey Ink Kraft Cardstock
Shop at:
PTI
Papertrey Ink Gold Shimmer Cardstock
Shop at:
PTI
Tonic Nuvo Crystal Drops - Copper Penny
Shop at:
SSS
Give Thanks Stamp Set
Shop at:
PTI
Beautiful Berries: Autumn
Shop at:
PTI
Beautiful Berries: Autumn Dies
Shop at:
PTI
Perfect Match Summer Sunrise
Shop at:
PTI
Perfect Match Melon Berry
Shop at:
PTI
Perfect Match Orange Zest
Shop at:
PTI
Perfect Match Dark Chocolate
Shop at:
PTI