 |
| Craftsmith Dark Floral |
I love the rich tones and I wanted to stamp in matching colors so I die cut several elements from white cardstock and started practicing using the Rose Builder Stamp and Die Set from WPLUS9 Designs. I also cut some of the blooms from Hibiscus Burst Cardstock and leaves from Ocean Tides Cardstock. I just love these roses and Dawn designed them with that hand drawn look that I love. For this first card I mirrored the sketch. I used the Honey Bee Large Thanks Die cut with Gold foiled cardstock, then matted it with black cardstock so it would show up against the stripes on the background. To give it a bit more dimension, I cut skinny little strips of black fun foam, added 1/8th inch score tape to the back of it behind the letters and glued that to my card base with Ranger Multi Medium Matte. The black fun foam I have is extra thick, so it really popped that sentiment up and I will need to use a padded envelope for mailing.
I started by stamping all of the white roses first; the base layer in Lovely Lady, the next layer with Hibiscus Burst, the third layer in Autumn Rose and the final detail layer is Scarlet Jewel, all Papertrey Inks. For the Hibiscus Burst roses, I skipped the first layer of ink and stamped the 2nd, 3rd and 4th layers in the same ink colors. I couldn't decide if I wanted the white border or no white border so I did some both ways and I actually used all of the ones I stamped to create a total of four cards. I wanted something eye catching and memorable for a special thank you card I needed to send and when I got to the point of assembling the cards, I didn't want to have to stop and stamp more roses or leaves. The leaves are super easy. I stamped the white leaf die cuts with Stormy Sea Ink and the detail layer in Ocean Tides. For the leaves that were cut from Ocean Tides Cardstock, I stamped the base layer in Ocean Tides for that tone on tone look and the detail layer in Smokey Shadow, again all Papertrey Inks. Using grey inks is a great way to add in some detail if you don't have the right color. Since I was trying to match the cardstock, I didn't use the traditional greens that I normally would.
Once I had everything stamped, I started piecing my backgrounds together. I took a strip from one section and paired it with a strip from another to get a panel slightly larger than the size of an A2 card so that I could die cut it to have those crisp edges. This let me have several different but similar backgrounds for my cards. I had enough roses to make 4 cards and I have enough left to make at least one more.
Even though this is the simplest card, I think it is my favorite of the group. I had to do some really creative piecing to get just the word beautiful on the card but it came out perfectly.
The basic supplies I've used are linked below for your convenience (affiliate links may be used).
 Cuttlebug Shop at: SSS |
 Hero Arts Hello Stamp & Cut Shop at: SSS |
 Honey Bee Stamps Large Thanks Die Shop at: SSS |
 Kokuyo Long Dot Runner Adhesive Shop at: SSS |
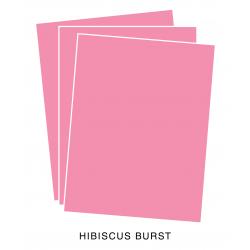 PTI Hibiscus Burst Cardstock Shop at: PTI |
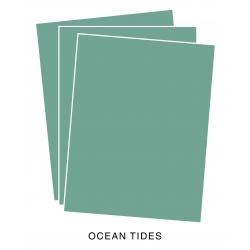 PTI Ocean Tides Cardstock Shop at: PTI |
 PTI Perfect Match Autumn Rose Ink Shop at: PTI |
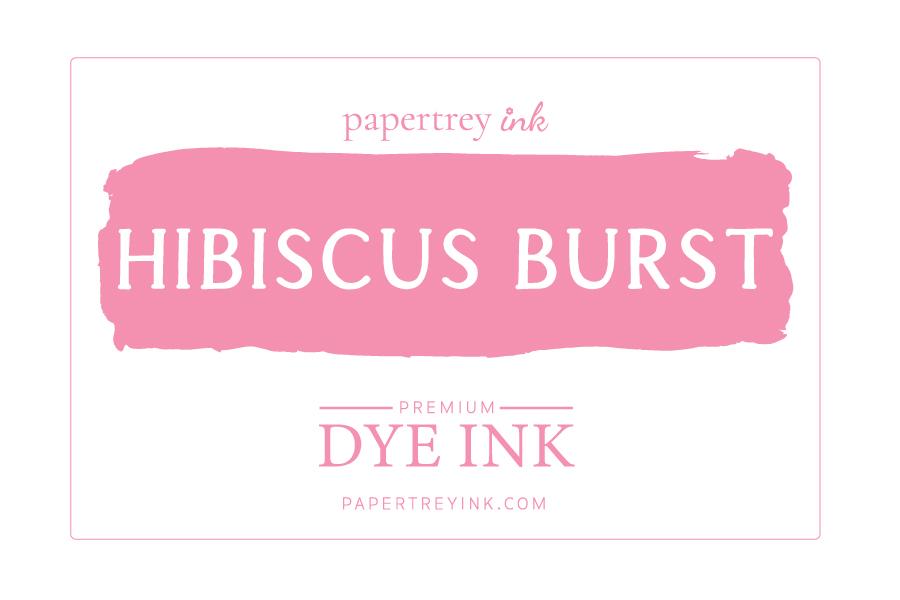 PTI Perfect Match Hibiscus Burst Ink Shop at: PTI |
 PTI Perfect Match Lovely Lady Ink Shop at: PTI |
 PTI Perfect Match Ocean Tides Ink Shop at: PTI |
 PTI Perfect Match Scarlet Jewel Ink Shop at: PTI |
 PTI Perfect Match Smokey Shadow Ink Shop at: PTI |
 PTI Perfect Match Stormy Sea Ink Shop at: PTI |
 PTI Stamper's Select White Cardstock Shop at: PTI |
 PTI True Black Cardstock Shop at: PTI |
 Ranger Multi Medium Matte Shop at: SSS |
 Teflon Bone Folder Shop at: SSS |
 Tonic 6 Inch Personal Trimmer Shop at: SSS |
 WPLUS9 Rose Builder Coordinating Stamp & Die Set Shop at: SSS |
 WPLUS9 Rose Builder Dies Shop at: SSS |
 WPLUS9 Rose Builder Stamp Set Shop at: SSS |


These are beautiful! Wonderful takes on the sketch!
ReplyDeleteVery pretty with the deep floral colors and bright die cut words. The last card is my favorite, too!
ReplyDelete