Saturday, November 25, 2017

The Challenge Simply Sweet Christmas Inspiration Hop


Hello!  I've got a special treat for you today!  All of the ladies and a few friends from The Challenge Blog Design Team are doing a blog hop today over on Lesley's Blog, Always Playing With Paper, where we focus on last minute cards or tags for the Holiday Season.  Here's the rest of the line up for you:

Rachel Bergfeld
Vicki Finger (You are here)

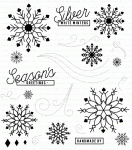
I have a fun, but beautiful card design for you today featuring Papertrey Ink's Silver White Winters Stamps and Dies. This has been one of my favorite designs this year. 

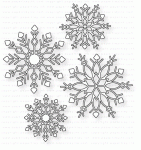
As a card maker, one of the things I do is to cut extras of something that I know I am likely to use more of on another card. In this case, when I made the original card in Silver and Dark Blue, I knew that I would use more of these beautiful snowflakes if I got the chance so I cut extras.  They are a set of four dies with two styles, one large and one small.  They could be used to pull together a quick card or tag anytime.  Is there anyone, anywhere who doesn't think snowflakes are beautiful?  I don't know anyone who doesn't like to look at them.  I even appreciate a good snowfall every year although that may be because I live in an area that doesn't get too many annual storms. We usually get one big snowfall and we've been lucky that mostly those have occurred on the weekends when we are at home.  So, I think snowflakes are always a good choice for a quick card or tag. 

Another little trick I've learned is that when I need a quick anything, I try to let my background paper or cardstock do a whole lot of the talking for me.  In this case, I used this gold foiled music paper for my card front making it so I didn't even have to do any stamping to pull this quick card together.  I had previously stamped some additional banners when I was working on another project so I had them ready to go. I figure that if I already have the MISTI set up, I might as well do a few extras "just in case".  You can put the extras in a little zipper bag to keep similar styles of things together. The dies I get from Papertrey Ink come in heavy zipper bags and I have a tendency to keep some of the smaller ones for just such an occasion.  At certain times of the years, I have several of those little bags of goodies sitting on my desk, ready to go.  I always have cardstock cut and ready to go for Top Folding Vertical or Horizontal Card (I take mine to an office supply place to have it cut).  

Even when it is not the holiday season, I always have bits and pieces left from cards that can be pulled into a quick card or tag. So when you cut a few for a specific card, go ahead and cut a few more and tuck them away.  

Specialty Cardstock is another good choice if you are in a hurry and one of my favorites is Shimmer Cardstock.  You can put your own card kits together by doing just one of these things every time you have a few minutes.  It can be overwhelming to create a pile of cards; not only to do it, but to find the time in a busy schedule.  There's always something that needs our attention as wives and mothers but if you can have 5 minutes to do some die cutting, then 10 minutes the next day to stamp some sentiment banners or strips (I used a banner from Keep It Simple Frames here), then five more minutes on a third occasion to cut 4.25 x 5.5 inch card background panels, pretty soon you'll have the makings for several last minute cards.  I love adding special touches to my cards as well, like the little jewels you see in the center of my snowflakes.  I don't want those to fall off so I use Ranger Multi Medium Matte to adhere them.  Once I have the jewel placed, I set an acrylic block on top for a few minutes while I glue the next card in the pile. You can see how that can all add up to a stash of "just in case" cards.  Don't become obsessed with making sure they are all exactly the same; it's the handmade touch that makes them special.

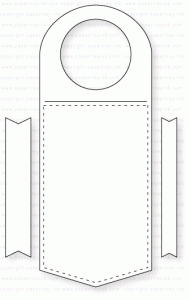
You can also do the same for some last minute gift tags.  Tags can be found almost anywhere if you don't have a tag die of some kind and they can be handy for a last minute gift tag any time of year.  Dollar Tree will often have some in the gift wrap area and you can personalize them with just a few little holiday die cuts.  Holly always seem festive to me with the red and green or you can use something in a less traditional but more elegant style and color palette like the Wine Bottle Tag I made here.

Keep your sentiments simple and more generic so that it will work for whatever you need.  A sentiment such as Merry & Bright Works for pretty much any holiday theme.  

I hope I was able to give you some ideas today for those last minute cards and tags you may need.  With just a few minutes of prep work, you can have a great looking card in minutes.  If you'd like to see larger images, click on them to go to a bigger version.

Thank you so much for stopping by today and I hope you have a great time going around the hop to see all of the projects and inspiration.  Be sure to come back here later though because I'm also participating in the Papertrey Ink Blog Hop today.


Simon Says Stamp Antique Gold Embossing Powder
Shop at:
SSS
Kokuyo Long Dot Runner Adhesive
Shop at:
SSS
Papertrey Ink Hawaiian Shores Cardstock
Shop at:
PTI
Silver White Winters Stamp Set
Shop at:
PTI
Silver White Winters Dies
Shop at:
PTI
WPLUS9 Gift Card Layers Designer Dies
Shop at:
SSS
Papertrey Ink Keep it Simple Frames
Shop at:
PTI
Versamark Ink
Versamark Ink
Shop at:
PTI | SSS
Wagner Heat Tool
Wagner Heat Tool
Shop at:
SSS
Cuttlebug Die Cutting Machine
Shop at:
SSS
Papertrey Ink Gold Shimmer Cardstock
Shop at:
PTI
Papertrey Ink Wine Bottle Tag II
Shop at:
PTI
Spellbinders Holly Jolly Dies
Shop at:
SSS

Thursday, November 23, 2017

Make it Monday #304 - Photo Ornaments

For this week's Make it Monday #304, Lexi Daly showed us how she creates ornaments each year for a little tinsel tree that she has.  In her case, she takes a new picture of her girls each year in the same spot that she did previously.  Doesn't that sound fun? She can compare the changes in her girls and the location just by looking back at these ornaments.

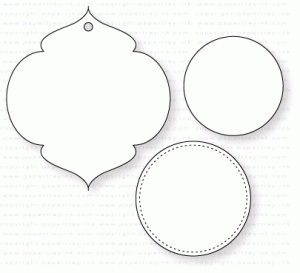
For Lexi's ornaments she used Limitless Layers Hearts to make her ornament, but I knew that if my order got here in time, I wanted to use the new Tag Sale #12 to create my ornament.  I am so excited for this addition to the Tag Sale dies as I think it is perfect for ornaments.  From the beginning, I saw it as an ornament rather than a tag.

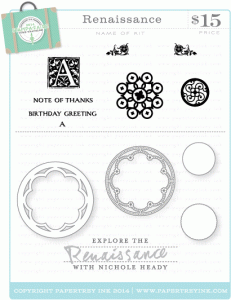
For my ornament, I started by cutting one ornament from Heavy Duty (#160) Tag Stock and another from the foiled Cardstock I wanted for the front side of my ornament.  To keep the look of this neat from the front or back, I glued them together back to back.  Then I started deciding how I would embellish the ornament besides just a photo.  The Tag Sale Die comes with a few circles for the interior, but I was using some fancy wood grain metallic paper that was left from another project I made, so I knew I wanted the ornament to be upscale as well.  So I pulled out a favorite die from and 2014 Stamp-A-Faire Kit called Renaissance that has a die that I love to use anytime I want to highlight a circle shape.  It is made in a style that represents a Rose Window that you might see in a great cathedral such as Notre Dame. Rose Windows are particularly part of Gothic Architecture but are seen in lots of other types as well. I love this little die and knew I wanted to use it for the center picture area of my ornament as an accent.

Because my paper had gold foil on it, I die cut the Rose Window Die from Gold Foiled Cardstock. I like the way this die looks with a solid color behind it, so I die cut a circle from Vintage Cream Cardstock that matched my metallic wood grain paper and that I was planning to die cut my sentiment from. I put a piece of cream colored ribbon through the hole to make a hanger for the ornament.

The hardest part of this card, was deciding what papers would look good with all the elements I used and It took me a while this time.  Kind of as a last resort I went to look at some of the gold vellum I have that I got several years ago from Stampin' Up and came across some that I bought last summer and had completely forgotten about.  It was a pack of 5 sheets, all the same design, with all of these fun gold foiled stars on it.  I wanted a color underneath it so I die cut A2 panels of Hawaiian Shores and the Vellum with a stitched rectangle die. By adding that stitched line, it gave me a place to put the skinniest little bit of dot runner into that line on the Hawaiian Shores panel and lay the vellum on top. You can't see the adhesive at all.  I attached that to a top folding card base made from Stamper's Select White Cardstock.  I should have used Vintage Cream but it was too late by then as I already had the front piece glued down.


To attach the ornament to a card, I put a strip of Removable Adhesive on the card front and added the ornament to that so that when the ornament is removed, there isn't adhesive all over the back.  Removable Adhesive is a handy thing to have around - it's perfect for holding the negative in place in your MISTI when you want to stamp as well. I still use a bar magnet with the negative, but it's a smaller, thinner one.

Just in case you are curious (like I am), the photo on my ornament is me with  my oldest granddaughter, Kaylan, who started college this fall.  I'm thinking I need to keep this and make her a different one. *wink* 

Thank you so much for coming by today to see my project.  I'm going to link up this project over at Word Art Wednesday. I hope you're having a great week and I'm looking forward to seeing all the ornaments over at the Link Up.

Stamper's Select White Cardstock
Shop at:
PTI
Kokuyo Long Dot Runner Adhesive
Shop at:
SSS
Papertrey Ink Hawaiian Shores Cardstock
Shop at:
PTI
WPLUS9 Gift Card Layers Designer Dies
Shop at:
SSS
Papertrey Ink Perfect Match Vintage Cream Cardstock
Shop at:
PTI
Cuttlebug Die Cutting Machine
Shop at:
SSS
Ranger Multi Medium Matte
Shop at:
SSS
Papertrey Ink White Tag Stock #160
Shop at:
PTI
Papertrey Ink Tag Sale #12
Shop at:
PTI
SAF 2014 - Renaissance Kit
Shop at:
PTI

Wednesday, November 22, 2017

A Season of Cheer

Today's card is for my first time participating in the Concord & 9th Challenge, Where Creativity Meets,  that can be found here:  http://www.wherecreativitymeetsc9.com/.  I don't have very many Concord & 9th products so I normally don't even look at the challenges, but I had ordered this set of dies last week and they came yesterday, so I wanted to make a card to send to my brother, Eric.

One of the things I really like about these dies is that they aren't too feminine but they also aren't over the top masculine so they will work for either gender.  I was actually working on a project kind of late last night for a blog hop that is coming up this weekend and that got totally off track as I was working because I thought of what a great card this would make for my brother so I just rolled with it and this is what came out.

I started with a 7 x 5 top folding horizontal card base made from Vintage Cream Cardstock.  Next, I pulled out this sheet of fancy wood grain designer paper that I found last time we went to Dallas. It's cream colored and the wood grain is done in gold foil. It says "I'm Classy" without being overly fussy.  I die cut that panel with the Spellbinders 5 x 7 Matting Basics A in the largest size and also embossed with the tan Spellbinders Embossing Mat it to keep that frame around the edge. I actually didn't realize the details this added to my cardstock for a while but now I use the embossing mat all the time. I adhered it with my Kokuyo Long Dot Runner Adhesive. Next, I added a strip of plaid paper across the upper part of the card that has a little bit of gold foil in the design and then die cut all the dies from the Season of Cheer Die Set using Metallic Gold Cardstock from Gina K Designs. I adhered those pieces with Ranger Multi Medium Matte. This gold is a different shade than any other I have and I would say it is more of an Antique Gold color, than actual gold.  It has a deep, rich, warm tone and I think it is perfect for this masculine looking card.  So far, all the dies from that set are still attached to each other and I don't think I will take them apart but you never know.

I love the little banners that are part of the set because you can leave the letters in them or take them out, whichever way you like.  You could even cut them in other colors and stick them back in the banner.  I kept mine in place by running a piece of 1/8th inch score tape on the back side to keep them from falling out. Using the same cardstock, I die cut both of the pine branches from Tim Holtz Holiday Greens Thinlits Die Set a couple of times and then arranged them on my card front and attached them with more Multi Medium.  For the finishing touch, I added some Red Berries to the pine branches.


Thanks so much for coming by today and spending a few minutes with me.  I've linked all of the supplies for you below.  In case you didn't realize it before now, I did no stamping on this card.  I simply die cut all of the pieces using my Cuttlebug and assembled my card.  Since I added the berries to the card, I will use a padded mailer to send this card.  I really like the look of the Season of Cheer die and I plan to use it for some of my other cards as well. I'll also be entering this card at the Case This Sketch Challenge Blog.

Kokuyo Long Dot Runner Adhesive
Shop at:
SSS
Concord & 9th Season of Cheer Dies
Shop at:
SSS | C+9
Papertrey Ink Perfect Match Vintage Cream Cardstock
Shop at:
PTI
Gina K Designs Pure Luxury Gold Metallic Cardstock
Shop at:
GKD
Tim Holtz Holiday Greens Thinlits
Shop at:
SSS
Spellbinders Matting Basics Set A
Shop at:
SSS
Nuvo Crystal Drops - Red Berry
Shop at:
SSS
Cuttlebug Die Cutting Machine
Shop at:
SSS
Ranger Multi Medium Matte
Shop at:
SSS
Spellbinders Embossing Mat
Shop at:
SSS

Tuesday, November 21, 2017

Pink Paper Beads & Other Crafty Things

Today's card is for this week's Inspired By All The Little Things Challenge, #73.  Like everyone else, I am going to be busy later in the week and in fact will be having our Finger Family Christmas over the weekend.  I've have been waiting for the right card project to combine with another project that I've been working on and today is the day. If you see a pink Christmas Card made by me, it's a pretty sure bet that it is going to one of my girlfriends rather than to a couple or a family and I am planning to send this to one of those friends.

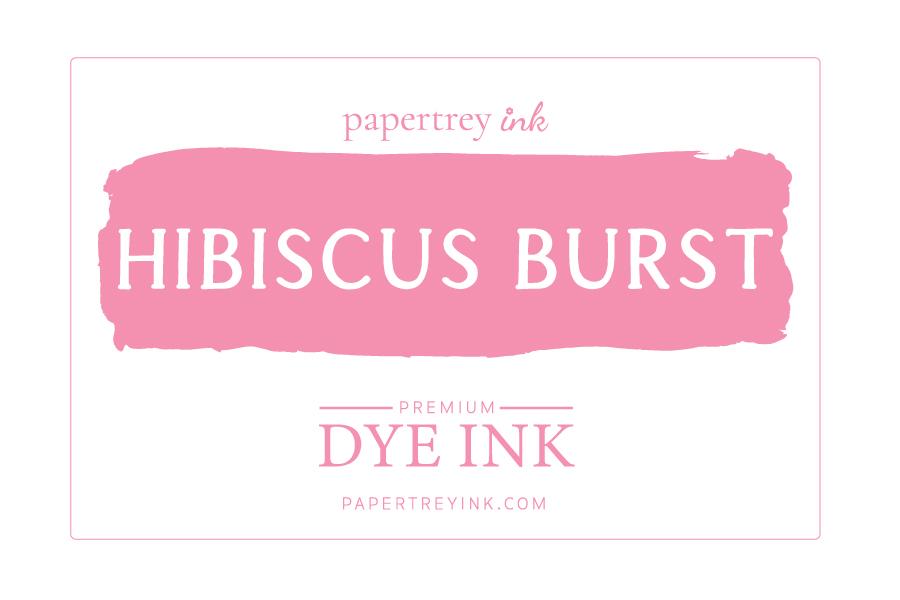
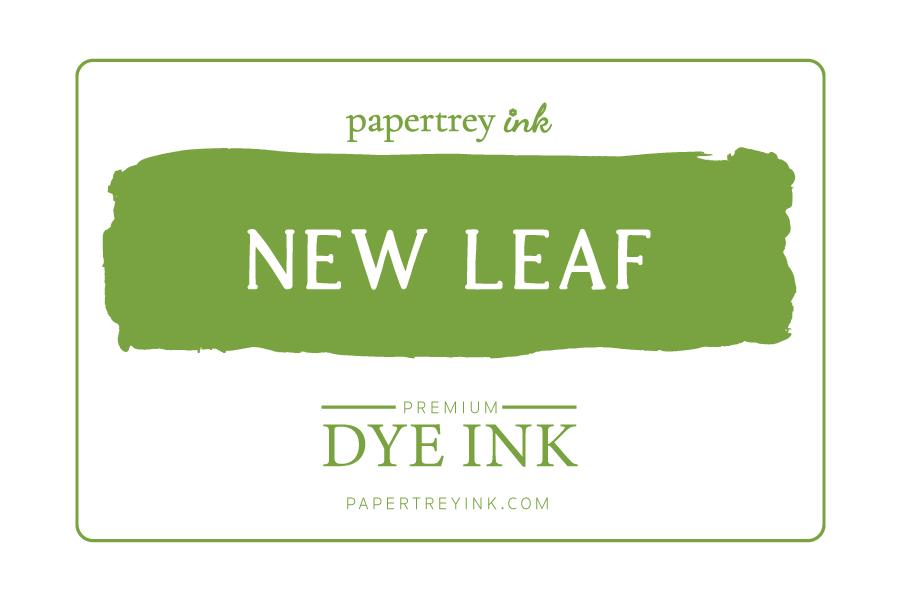
This is pretty straight forward stamping onto die cuts using a negative as my placeholder with my MISTI tool. The poinsettias are from the Gina K Designs Merry & Bright Stamp TV Kit which came with more stamps and was a huge value for the dollar.  Those kits are currently sold out, but I'll include a link at the end of this post so you can keep checking back. I used Papertrey Perfect Match Inks in Lovely Lady, Hibiscus Burst, and New Leaf for my stamping. For the background, I used a piece of Pink Shimmer Cardstock (sent to me by my friend, Cindy) which I die cut first with a Stitched Rectangle Die from WPLUS9's Gift Card Layers Die and then dry embossed with a simple border design all the way around using an embossing folder.  There isn't a style or pattern name on this folder and I know it hasn't been available for some time although it originally came from Stampin' Up way back when. I think you'll be able to see the design better in some of the other photographs such as the one just below.

I wanted just a touch of texture and with the border all the way around, it makes a sort of frame for my blooms. In reality, poinsettias are all leaves.  The blooms are leaves but for the sake of simplicity, I'll just call them blooms here. Pink ones are my favorites. The little banner is cut from the Keep It Simple Frames Dies and stamped with a Sentiment that came from the Beautiful Berries: Winter Stamp Set. I stamped it using Versamark and heat embossed twice using Antique Gold Embossing Powder from Simon Says Stamp. It is my go to Gold Embossing Powder.  It's a warmer gold tone that regular gold embossing powders and works with the colors I like to use. I might use regular gold embossing powder a couple of times a year but the rest of the time I use this one.

I also wanted to keep this design simple because I'm going to enclose a little gift with the card which you can see in the picture. I've been waiting for a chance to share all the paper beads I've been making.  From daughters to granddaughters and friends to sisters-in-law, I think I have a bracelet made for each one of them.

A  month or so ago, Gina, of Gina K Designs, did a video tutorial showing how to make paper beads. You can find that tutorial on YouTube here.  This is a fantastic thing to do with paper scraps. If you've been coming here for very long at all, you know I love gold foiled cardstock, especially if it is gold and a color and most of all if it is gold and pink.  I can't bear to throw away those scraps and now I have a perfect use for them - paper beads.  I'll tell you right up front here that these pink and gold beads were not created from scraps, but rather from a sheet of pink and gold paper in a design that was quite large - too large to be used for a card.  I decided to cut it up for paper beads and I thought I'd share my experience with you here.

When I started, I tried several different widths of strips.  Gina shows you how to cut your own in her video so that part was easy.  And Papertrey has a die that will cut the strips for you, but I found that I wanted mine to be longer and narrower than the strips that die cuts.  I tried several sizes from about 3/8ths of an inch to an inch wide and everything from 6 to 12 inches in length. You'll have to try a few to find what your individual preference is but my preference for the paper is ½ inch x 8.5 inches.  The half inch beads are a good size for bracelets as the bigger beads don't work well for something that is going around your wrist.  Other factors to consider when you are starting beads is the thickness of your paper.  If I were planning to use a paper that was think, I would likely do 12 inch long strips. You can find a quilling tool online or probably any kind of hobby or craft store.  I ended up getting one from a lady that Gina recommended who makes her own tools but not until I had done a few to make sure I wanted to continue to make beads.  I have made several hundred in the past month and I probably won't make any again until next year.  In fact, I still have about 200 beads to coat still for this year, but I wanted to give you some tips for doing that as well. These are just a few things that I learned as I was making beads that I hope will help you if you wish to give it a try.

I really enjoyed this process because I could sit with my husband while I rolled beads and watch TV (well, half watch -- half listen).  I would just put them in a  little dish so I could coat them later in my studio.  Again, Gina already did the hard part by making a video showing you how to roll and coat your beads but because I plan to give the bracelets I made to several young ladies, I wanted them to be a bit sturdier.  I also wanted them to be really smooth and shiny which meant I had to do additional coats of Ultra Thick Embossing Powder.  Size 4 aluminum knitting needles are just the right size to do that with.  Again, be sure to check out Gina's YouTube video to see how this is done.


What I found, was that I got a better result if I heated the embossing powder and melted it, then rolled the bead again right away and melted that coat.  Then I set it aside to cool before I added a third and 4th coat of UTEE. Since I was doing so many beads at the same time, this requires a bit of patience but I found that by the time I did five beads, the first one was cool and I could go back and add the additional coat or two of embossing powder.  Then when I got to the end of those five beads again, I could take them off the knitting needle and set it in my dish.  So I could do about 5 at a time and then I could move on to the next set of 5. Some things to keep in mind are how quickly you add the coats of embossing powder.  If you try to do all 4 coats at once, then your paper tends to change color so be sure to slow it down. I found it a lot easier to wait a few minutes in between or else the coating would be so hot that it would melt and drip. I use a Ken Oliver Craft Mat on top of the little table my heat tool is to catch anything stray - any time, not just when I am doing beads.  It's just a precaution to keep anything from getting on furniture or carpet. MS affects your balance and coordination and I can be a klutz, so I learned many years ago to protect my surfaces. You also have to be very careful not to hold the heat tool on the embossing powder for too long because you can burn it, causing it to turn yellow instead of being clear.

This is the pile of beads and resulting bracelets that I've made so far. I ordered small spacer beads in silver and gold from Amazon and strung them on Elastic Cord also from Amazon or you can get it at your local hobby store. I didn't know if I could ever use all of the Ultra Thick Embossing Powder that I have and now I actually think I'll have to get more before next year's beads. I like to be busy and this lets me do that while also enjoying a little television time.  A big thank you to Gina K for showing us how she makes her beads.  It was a great guideline for me to figure out how to achieve the look I wanted.  My favorite beads are 1/2 inch wide, made from 8 inch long strips of paper and have 4 coats of embossing powder on them.  These beads are all made with paper that has either gold or silver foil running throughout the design, but of course, the pink ones are my favorites.


These beads won't stand up to doing dishes or taking a shower with it on, but they are definitely water resistant and will be a lot of fun for my friends and family to wear, knowing that each bead was hand rolled and created by me.

Thank you so much for sticking with me today for this very long post.  My husband had to put a new video card in my computer this week and it took a while before I realized that I needed to recalibrate the color.  I will have to look on a different device to see  if I think I've got the color right so if it looks odd to you, please send me a note to let me know. I'm linking my supplies for you here but the paper, I already had.


Stamper's Select White Cardstock
Shop at:
PTI
Kokuyo Long Dot Runner Adhesive
Shop at:
SSS
WPLUS9 Gift Card Layers Designer Dies
Shop at:
SSS
Papertrey Ink Pink Shimmer Cardstock
Shop at:
PTI
Perfect Match Lovely Lady Ink
Shop at:
PTI
Perfect Match Hibiscus Burst Ink
Shop at:
PTI
Perfect Match New Leaf Ink
Shop at:
PTI
Scrapbook Adhesives Thin 3D Foam Squares
Shop at:
SSS
Gina K Designs Stamp TV Kit - Merry & Bright
Shop at:
GKD
Papertrey Ink Beautiful Berries: Winter
Shop at:
PTI
Papertrey Ink Keep it Simple Frames
Shop at:
PTI
Versamark Ink
Versamark Ink
Shop at:
PTI | SSS
Ranger Ultra Thick Embossing Powder
Shop at:
SSS
Wagner Heat Tool
Wagner Heat Tool
Shop at:
SSS