

Last weekend we were celebrating my husband's and one of my grandson's birthdays. School starts here on Monday so it was about the last chance I had to have Charlie (age 17) for the weekend. It hard to believe that he will be starting his Senior year of High School. Charlie likes art and in preparation for this occasion, I got some Yupo Paper so that we could play with my alcohol inks. There is a huge variety of colors and also metallic mixatives to go with them at Simon Says Stamp and don't forget the Alcohol Ink Blending Solution. I also have some of the little felt pads that can be used on the Ranger Mini Ink Blending Tools. You'll need Yupo Paper or Glossy cardstock sometimes works depending on the technique you want to use.
I always have rubber gloves on hand to use for occasions like this. I get mine from Sally Beauty Supply, but I know you can get them anywhere including Amazon. I also had two craft mats and two cookie sheets covered with Heavy Duty Reynolds Wrap because, lets face it, Alcohol inks definitely stain. This gave us a place to set our work aside to dry and then leave it or go back to it after it was dried. Some of the backgrounds we made I wish I had left well enough alone but there will always be more of them and no two will ever look the same.
I've only played with these inks one other time, but I had told Charlie about them and I figured I could probably use a lot of them for backgrounds on my cards. We decided to start with my original pad of Yupo Paper, but I had ordered a pad of the new heavier weight paper as well. I cut the sheets into 4 pieces and work on individual backgrounds one at a time.
To me, Alcohol Inks are even less predictable than watercolor but you never get the same thing twice which is part of the fun. Charlie and I had a lot of fun experimenting and we also did some fun stuff with all my Tim Holtz Distress Oxide Inks. In the end, Charlie asked me to make him a galaxy sky to put in a frame and hang in his room. I did just happen to have a frame on hand that he liked.
When we finished playing in the alcohol inks, I had about 20 backgrounds that I could use for cards but I wanted to try a technique that I saw Jessica Frost Ballas do on some alcohol inked backgrounds which was to foil them. Let me just say, there is some practice needed to obtain the look you want and I have had some practice but I still don't know exactly what makes some better than others except that you should put the heat too high on your Minc or you get nothing but foil. I was going more for the gold veined look.
This is one of the backgrounds that didn't get much transfer from the foil. I have others that have more foil, but this is the one I chose to work with today. There was very little transfer of foil onto this background and I tried a couple of different heat settings. So there's just a little hint of bling on there and it's more like a nice little surprise than actual full on bling.

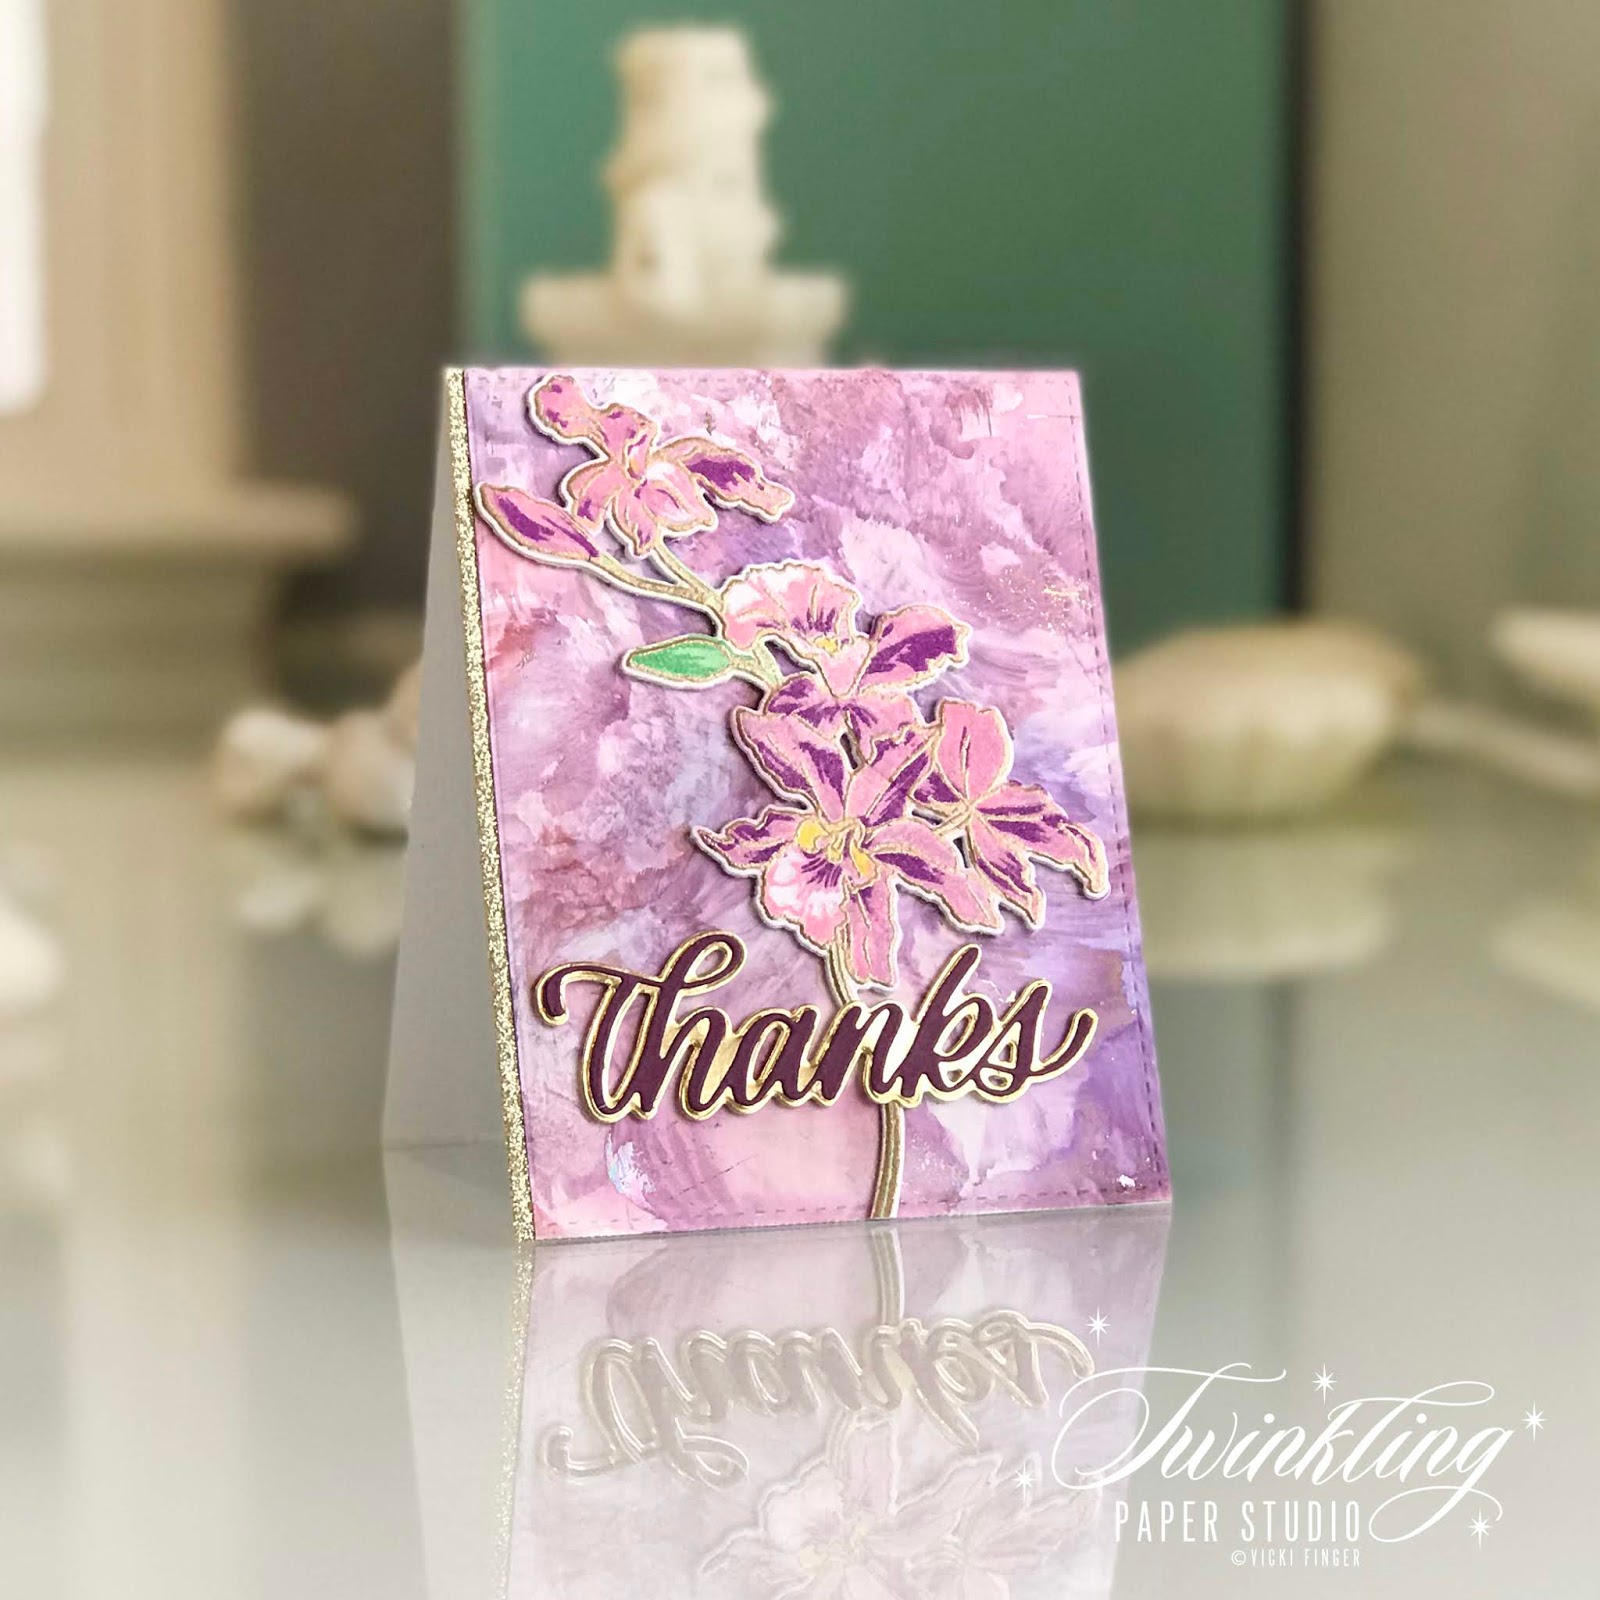
I made sure I had a straight edge to adhere the glitter paper to and then die cut a Stitched Rectangle panel with it attached to get just that little strip of glitter. It was super easy that way since I like to use dies for my card fronts.

I'm really glad I changed it up instead of just submitting something I wasn't that happy with. I also added some fun foam to the back of the die cut bloom this time instead of using foam squares cut in half. For the sentiment, I did use a bit of foam tape. I considered some sequins or gems, but I think with the busy-ness of the background, it would be too much. I plan to include more cards made with other foiled backgrounds so you can look forward to those!
You can barely see any foiling on the background and in fact, if you don't know where it is, I doubt you would see it. I still have lots of backgrounds to work with that you'll be seeing more of in future projects as I continue to work through my Altenew Educator Certification Program.
Thanks so much for stopping by today. I've linked the supplies I've used below for your convenience (Affiliate Links may be used).
 Altenew Antique Gold Crisp Embossing Powder Shop at: ALT |
 Altenew Build-A-Flower: Cattleya Shop at: ALT |
 Altenew Rose Petal Mini Cube Collection Shop at: ALT |
 Altenew Shades of Purple Ink Cubes Shop at: SSS | ALT |
 Decofoil Transfer Sheets Bulk Pack Shop at: SSS |
 SSS Gold Glitter Paper Shop at: SSS |
 Teflon Bone Folder Shop at: SSS |
 Tim Holtz Tonic Paper Trimmer Shop at: SSS |
 Versamark Ink Shop at: SSS |
 Wagner Heat Tool Shop at: SSS |
 WPLUS9 Gift Card Layers Designer Dies Shop at: SSS |
Lovely flowing colors - I like both variations!
ReplyDeleteLiking these, love the colours used & the effect it left you. Gorgeous card, really elegant & sophisticated looking. I do love to see the alcohol / typo background 's but it's far to messy for my ocd to handle, the lack of control & mess puts me in a spin too much, daft I know. But it's do i 've the end result of this card.
ReplyDeleteWhat a marvelous write-up! I really love the shine that you applied in this design, Vicki! The gold really stands out among the textures and colors. I am so glad that you enter your beautiful work in Altenew AECP assignment Gallery. Awesome details and design! Super work!
ReplyDeleteStunning! The color combination and blending is really lovely!
ReplyDelete