

We are officially in the season of Spring, thank heavens! I don't remember ever wanting Spring to come as much as I have this year. The cold really bothered me this year although normally, I just look at Winter as the only way to get to Spring; a necessary evil so to speak. This past Winter was just brutal as far as temperatures for living as far south as we do. Thank goodness we don't live in the North!
 The image on the left is the inspiration for the March 2018 Papertrey Ink Blog Hop. I love this photo with all of the Tulips, Daffodils, and Narcissus (the ones with the small trumpets are Narcissus). They are so pretty and I can almost conjure their smell from memory. I love that they are sitting in a bird's nest because for me, that's another symbol of Spring. I love it when I hear those first chirps from baby birds each year because it signals the arrival of the season. When I was trying to decide which direction I would go for the blog hop today, the colors were part of the inspiration for my card.
As is often my habit, I recently sat down with a new to me (and also fairly recently released) stamp set called Brushed Birds. I cut several of each die from Stamper's Select White Cardstock so that I could sit and see how it stamps. Anytime I get a new layering set, this is what I like to do. It takes a few rounds of practice usually to see how all of the layers line up to create the image. I keep these already stamped items in the stamp pocket with the stamp set after I do my trial run which makes it pretty handy if I need to pull a card together quickly.
Those are what I pulled out today to put my card together. When I initially stamped them I was trying a few different sponging techniques by stamping in one color and sponging on a bit of another when I stamped the base layer. I thought they turned out very well, so I kept them for use when I was finished with all of the other projects that were due before now. So most of the stamping was already complete when I started on this card.
I also had a piece of Aqua Mist Bitty Big Patterned Paper sitting on my desk from another project. I ended up not using it for that project, but it was still laying there when I pulled these sweet birds out of the stamp pocket and since it was one of the colors I used, I knew it would be perfect to go with my project today. That made quick work out of the first two portions of pulling my card together. I don't have a birds nest stamp or die, but I figured I could use something like a tree to place my birds in. I pulled out my Mix & Mat: Plaid die cut which cuts this sweet birch tree kind of frame. You can use all three layers together which is what I did here. The nice thing about all of the mix and mat frames is that you can switch all the parts around with any other frame in the Mix & Mat series. I used it today as it came. I had already snipped the die apart on the interior part so I just had to hold it with a bit of washi tape to run it through my machine. This die is pretty intricate and I haven't had much luck getting a clean cut through my regular die cutting machine, so I didn't even try it today - I just ran it through my Gemini and got a perfectly clean cut the first time through. YAY!

I cut the piece of Bitty Big Paper with my largest stitched rectangle die and adhered that to my card base. Next I took some Scotch 3M Foam tape and cut it length wise to make a narrower strip and put that on the back side of the frame, then placed it on the card front. I used an oval from Limitless Layers: Ovals and a piece of Aqua Mist Cardstock to stamp the sentiment using a greeting found in Tulip Time. The birds were adhered using various thicknesses of foam squares and the sentiment was also adhered with thin foam tape and just a bit of it was tucked up under the baby bird. Then I adhered one last little baby bird in the bottom left corner of the card.

As you might have already noticed in this picture, I couldn't leave well enough alone and decided to add some Tonic Nuvo Crystal Drops in Navy Blue to my finished card. I wanted something else to help tie in the Blueberry Sky Ink I had used for the markings on the birds.
Thank you so much for stopping by today! Be sure to stop over at the Papertrey Ink Blog to see all of the beautiful entries at the link up for the Blog Hop. The supplies I've used are linked Below for your convenience (Affiliate Links may be used at no additional cost to you).
 Gemini Full Size Die Cutting Machine Shop at: SSS |
 Kokuyo Long Dot Runner Adhesive Shop at: SSS |
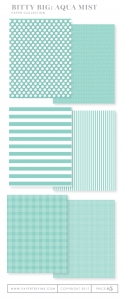 PTI Aqua Mist Bitty Big Prints Shop at: PTI |
 PTI Aqua Mist Cardstock Shop at: PTI |
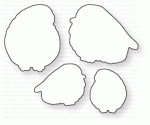 PTI Brushed Birds Die Set Shop at: PTI |
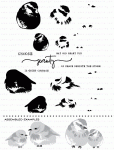 PTI Brushed Birds Stamp Set Shop at: PTI |
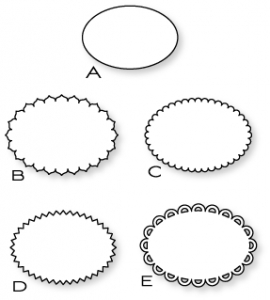 PTI Limitless Layers 2¼ Ovals Shop at: PTI |
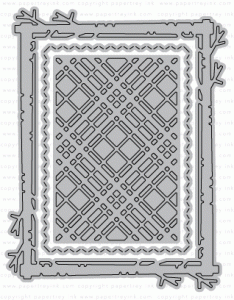 PTI Mix & Mat: Plaid Shop at: PTI |
 PTI Perfect Match Aqua Mist Ink Shop at: PTI |
 PTI Perfect Match Blueberry Sky Ink Shop at: PTI |
 PTI Perfect Match Spring Rain Ink Shop at: PTI |
 PTI Perfect Match True Black Ink Shop at: PTI |
 PTI Stamper's Select White Cardstock Shop at: PTI |
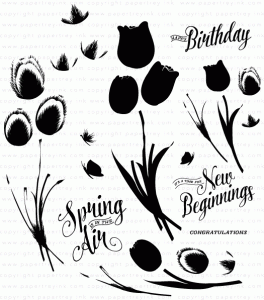 PTI Tulip Time Stamp Set Shop at: PTI |
 Scotch 3M Foam Tape Shop at: SSS |
 Scrapbook Adhesives 3D Foam Squares Shop at: SSS |
 Scrapbook Adhesives Thin 3D Foam Squares Shop at: SSS |
 Teflon Bone Folder Shop at: SSS |
 Tim Holtz Mini Round Ink Blending Tool Shop at: SSS |
 Tonic Nuvo Crystal Drops Navy Blue Shop at: SSS |
