

For my card today, I started by inking up some Stamper's Select Vellum with Tropical Teal Ink and then dried it with my heat tool. Then I stamped 3 of the butterflies from an older Stampin' Up set I have using Versamark and heat set them with Simon Says Stamp Antique Gold Embossing Powder. I punched them with the coordinating punch, also from Stampin' Up. Normally, I would use a larger butterfly, but I like the dreamy delicate quality of the butterflies and Baby's Breath in the inspiration image so I wanted to have a few smaller butterflies for my card today.
Next I cut a Stitched Rectangle using the Simon Says Stamp Stitched Rectangle Die in the largest size from this scrap of the blue and white paper. Then I cut the Basic Bookmark #3 from the wide stripe patterned paper. Both pieces of this paper are from American Crafts and were literally scraps a bit larger than the size of a card front. I had just enough for the background panel and the bookmark (aka banner) which is one of my favorite ways to use this die. With the pierced and eyelet looking details, it makes a beautiful banner.

Next I die cut 3 of the Penny Black "dream" die cuts so I could glue them one on top of the other for a thicker embellishment and also die cut one of the Simon Says Stamp Calliope Flourish. I have a lot of brads around from before and I never got to actually use them much before since they don't lay flat in a scrapbook. I have these small little brads with the glittered tops and I used them for my flower centers to help define where the flowers are in the flourish.
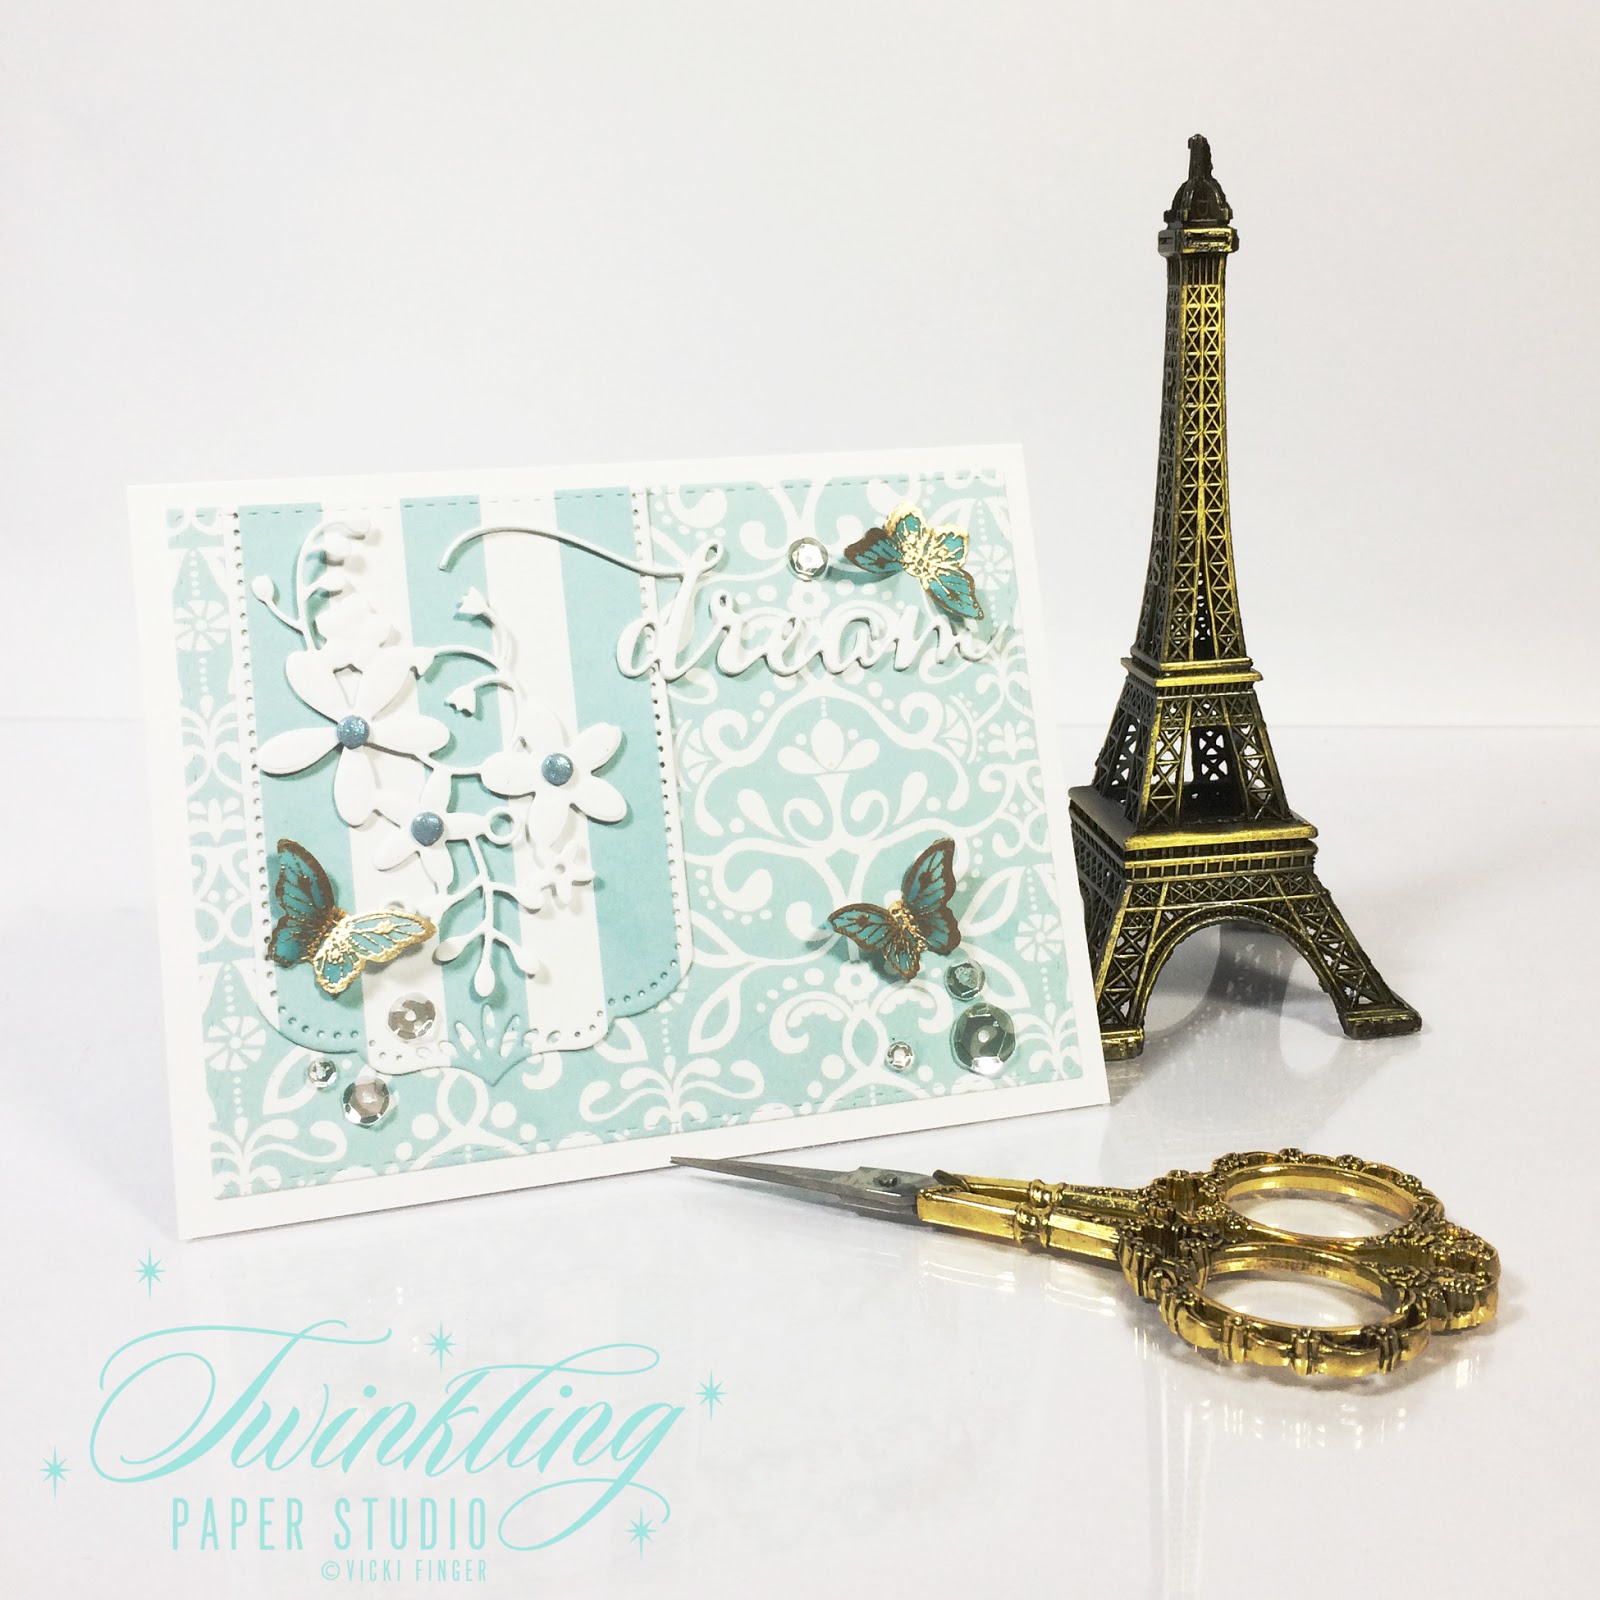
 This card has a different feel to it than what I normally do, but it feels so fresh and "crisp" that I just love how it turned out. In fact, I loved it so much that even though I already had another card made and the blog post written, I wrote this new one for today's post.
I'm also entering this into the Sunday Stamps Challenge with their theme of Banner Love - Take Two.
Thank you so much for stopping by today! Be sure to check all of the Design Team's Inspiration over at The Card Concept Blog and be sure to share your project with us in the gallery.


