Showing posts with label Altenew Leaf Frame Cover Die. Show all posts

Monday, September 9, 2019

Altenew Inspiration Challenge - September 2019

Hi there!  Today I have a project for this month's Altenew Inspiration Challenge.  I took my cues from Svitlana's Image and from her project as well.  I love the contrasting colors of purples and oranges, so it was pretty easy for me to figure out what I wanted to do for my fall-inspired project.

I always enjoy making encouragement cards and they are my favorite kind to send to friends or loved ones.  It's always a nice little surprise for the recipient when they get a card for no particular reason.  I love a surprise in my mailbox, don't you?

I wanted to do some ink blending so I started with a piece of Canson Bristol Smooth Cardstock and my ink blending brushes.  I chose to use Autumn Blaze and Midnight Violet in a totally random manner.  As I was blending I thought I needed to add some darker orange so I added some Fired Brick as well.  Once I had the inks blended on the cardstock, I hit it with some shimmer mist and set it aside to dry while I did a bit of die-cutting.

I love the Leaf frame cover die and knew that I wanted it in some gold foiled cardstock.  I also wanted to use a sentiment from "Kind Words Stamp Set" which is a sentiment set that I collaborated on with Tasnim at Altenew.  There are lots of encouraging sentiments in that set.

After my ink blended panel dried, I gave it a lot of Finetec Gold Watercolor splatter and let it dry again.  Originally, I heat embossed the sentiment directly onto the background panel, but it was too difficult to read in Gold Embossing Powder, so I used a piece of white cardstock and then blended what was left on the purple blending brush to add that bit of color.  The stark white background didn't look right, so this was my solution to that problem.  The brush didn't have much color left on it, so it worked out okay.


I wanted to use the purple, orange and gold cardstock with the Fantasy Floral 3D Die for my embellishments.  I really love this particular die.  I have a few of the Altenew 3D Dies, but this one is a great size, is less expensive than most, and easy to assemble.  Also, by simply rotating the piece a little one way or the other, you can change up the look of each bloom.  This is a Win-Win for me as I don't always have time to do the more complicated flowers from some of the other 3D Die Sets.  I added a few sequins and gems to add some bling to my card.  I was able to pull this together very quickly.

Thanks for stopping by today!  I have so many things on my desk that I want to work with, so I will be back soon with another project for you!

Tuesday, July 31, 2018

Altenew Educator Clean & Simple Boutique Cards


I’m back today with a couple of cards for the Clean & Simple Boutique Cards Class at Altenew Academy. I have to tell you, this one was a bit of a struggle for me because I just don’t think much of my style is geared to Clean and Simple but I tried really hard to stay with that feel.

For my first card, I used one of the techniques that Jen showed by using specialty paper for my card. I’m pretty bad at masking so while I wanted to do another technique, I didn’t think it would turn out very well. Later on in a different course for the Altenew Educator Program there is a class on Masking so I’m saving it to try then.

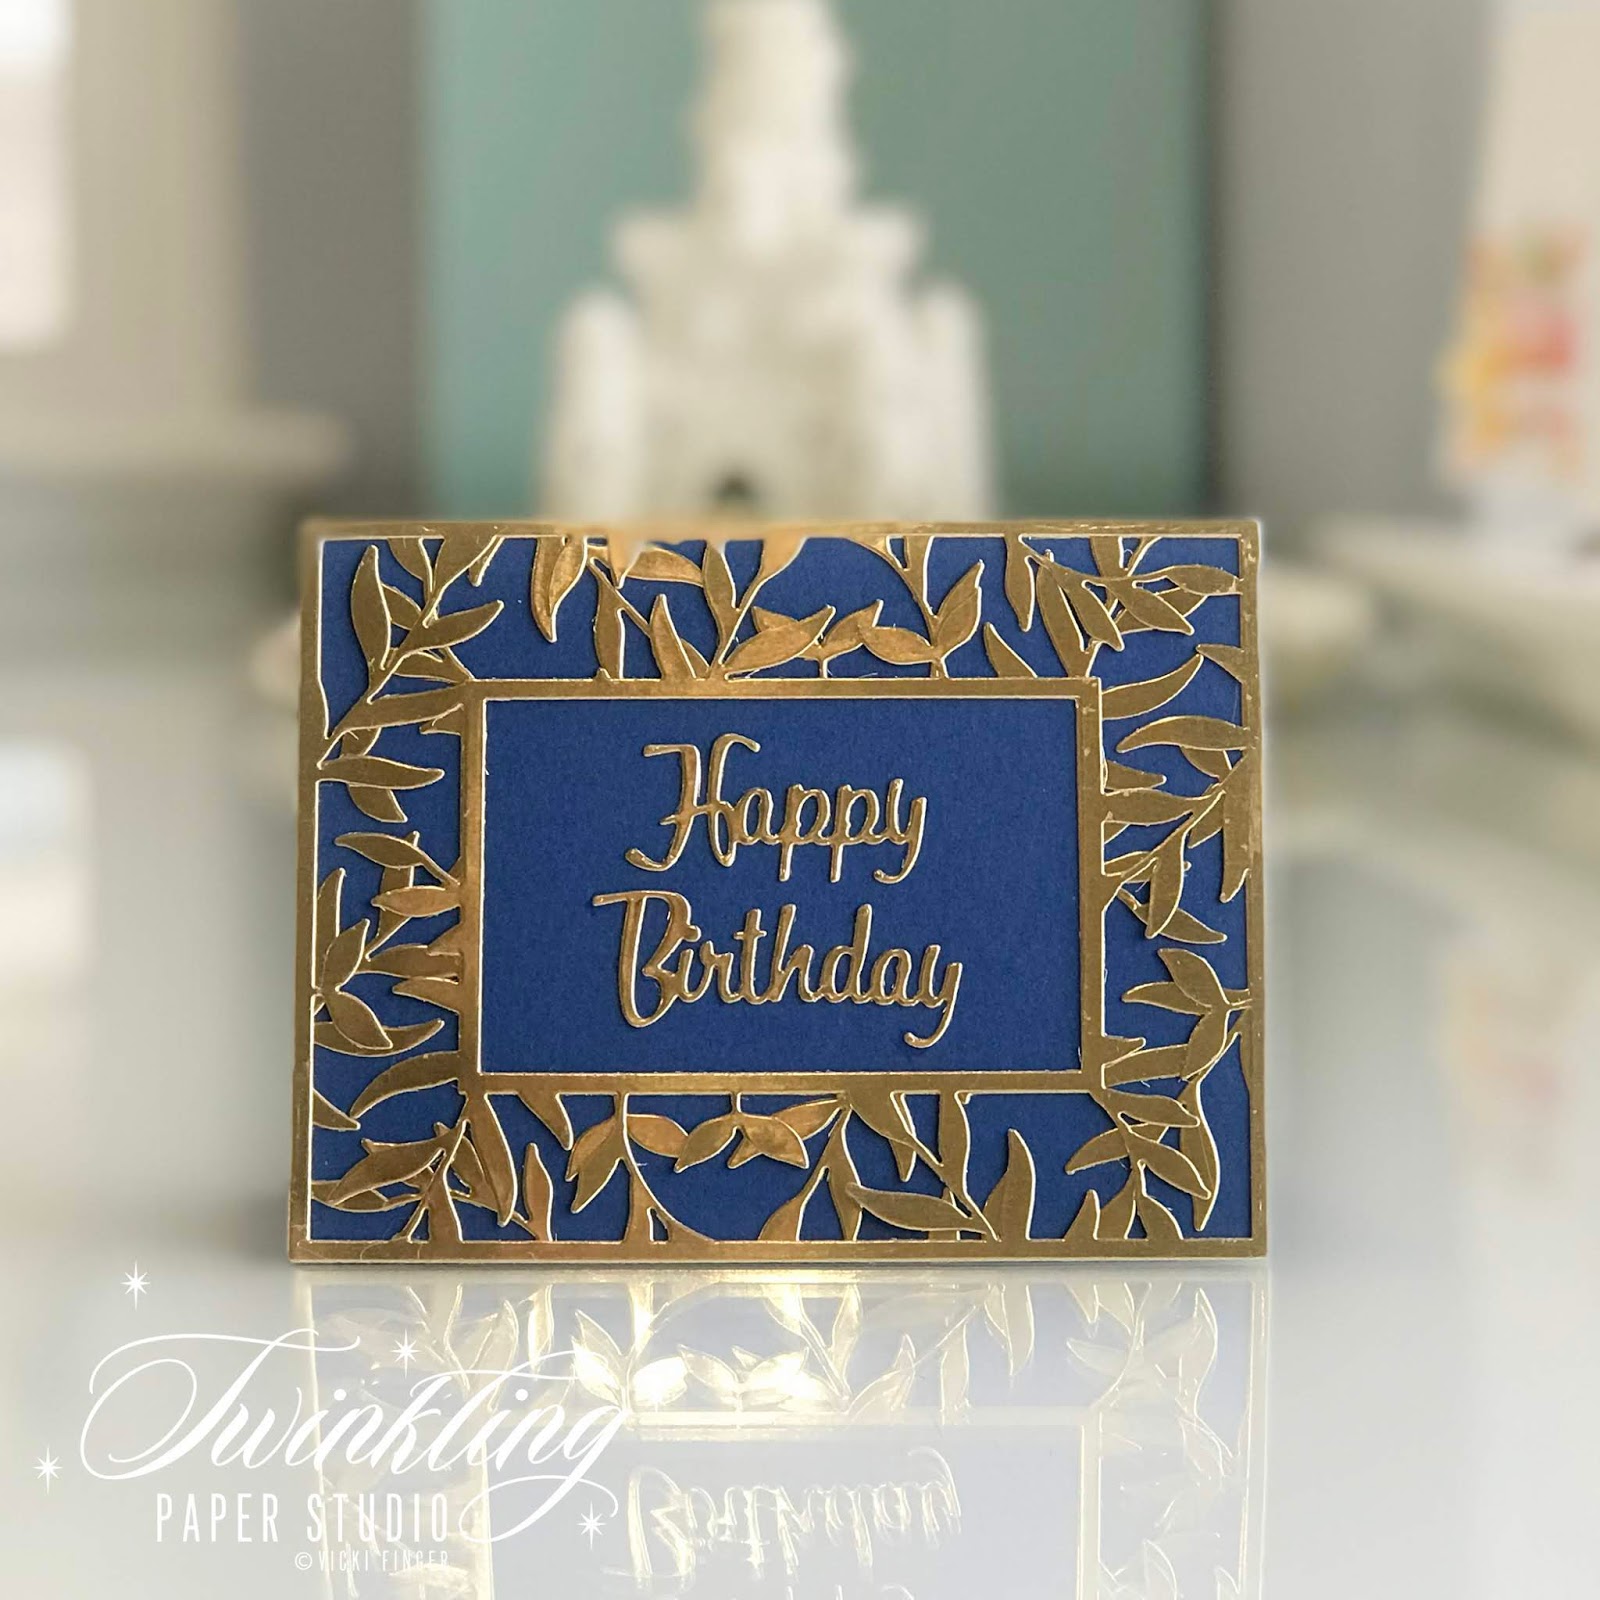
Using the New Leaf Frame Cover Die, I die cut two of them from Gold Foiled Cardstock. Since the design is asymmetrical, I rotated the top one 180 degrees which gives a much fuller look that kind of makes that gold really pop.


I used an older Happy Birthday die for the sentiment and put it all on Dark Blue Cardstock. This is as simple as it gets for me but still made a very striking card.

For the second card, I had a used piece of decofoil and I wanted to be able to use the negative of that for my background. Thermoweb makes black toner sheets and so I was able to place the foil over that and it transferred it to the black paper wherever there was still gold foil on that piece. It looks so rich and elegant!


I used a favorite quote from Kind Words Stamp Set and heat embossed it with Antique Gold Embossing Powder onto black cardstock and kept the rest of the card simple. When I considered adding a few gold sequins or gems to the card, I felt it detracted from the gold foil, so I didn’t add any.

I used Dark Blue and Black for the card bases respectively. Whenever I use a dark bard base, I always cut a white interior panel to write on.

So there you have it - not one but two clean and simple boutique cards! I hope I've given you some ideas for making some of you own.

Have a great day everyone! I have a few more classes to write posts for over the next few days, so be sure to come back and see them. Thank you so much for stopping by today!