Saturday, September 29, 2018

Papertrey Ink's Make It Monday #337

Don't pass out or anything, but I am actually here with a quick post for this week's Make It Monday # 337 - Packaging With Printed Papers.  I can't remember the last time I got to play along, but I'm pretty sure it was more than 4 months ago when we moved.  While I definitely have lots of stamps and dies, I don't have packaging dies because I hadn't really needed them before now.  I really wanted to play along with the challenge and then I remembered I had a Spellbinders die that made a tiny treat box.  It large enough to hold one or two Hershey's nuggets or a few of the little Andes Mints, but that is about all.  But I had to include a packing die along with Papertrey Products to be able to post, so this is what I had on hand to do it with.

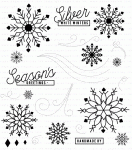
You all know my love for metallics, especially gold, but this time I wanted to use some of the foiled papers that I got during Cyber Monday last year at Michaels.  I considered some Bitty Big Cardstock, but decided to go with my silver foil metallics on white printed paper.  It fit in perfectly for what I needed.  I've had Silver White Winters laying on my desk for several days.  I used a few of the dies from it for my project.


My daughter and son-in-law host Christmas dinner at their house each year and I had just offered to make up some small treat boxes to set on the table for everyone.  So this was my chance to do up a prototype and see what she thinks.

I hope they'll look super cute on the table, but the challenge will be what to put inside that everyone likes.  Of course, now that I realized that I only have the one die for packaging, I'm thinking a may need to look into a few more.  This one was a bit of a challenge to do any decorating with because it is very small.  But I did manage.


For the Sentiment, I used one from Betsy's new Make It Market Mini Kit from this year, Poinsettia & Pine.  I haven't had a chance to play with the rest of it yes. but "A Gift for You" was perfect to stamp at the top of the tags.  I also used Keep It Simple Frame Dies because one of those had a hole in the top with the tag, which would allow me to attached two together with a brad and also would allow me to attach it from the front side you that you could put in a treat but only have to pull one tab out to access the goodies.  I have company this weekend, so this was the best I could manage and still be able to play along.  My Daughter and Son-In-Law both like silver vs. gold, so these will work perfectly on their holiday table.  They also aren't overwhelming so one can be set at each place at the table.

For the embellishments, I used the two smallest dies from Silver White Winters, cutting them in my Gemini Machine so I didn't have to have a knock-down--drag-out with my Cuttlebug.  The Gemini die cuts these intricate snowflakes perfectly, the first time through the Gemini.  The brad at the top of the tags was silver, so I used WOW!'s Platinum Metallic Sparkle Embossing Powder in order to keep the color palette.

So this is it from me today folks. I hope to have time to play with more of the tags in Betsy's sets but I am able to be done with this challenge.  This was really super simple and I'm ready to try out the whole kit!

Thanks for stopping by today and spending a few minutes with me.  I always appreciate your lovely comments when you take the time to leave one.

Friday, September 28, 2018

Altenew Educator - Polychromatic

Hello there!  I am finally back with my next project for the Altenew Educator Certification Program and the class is "Polychromatic" which simply means a variety of colors. It might mean a wide variety of different colors or a variety of colors in one specific color-way such as blues, greens, purples, etc.  For my project today, I chose to use several different hues of blue with White Pearl Embossing Powder from Hero Arts.  I used primarily blues from my Zig Clean Color Real Brush Markers in Light Blue, Cobalt Blue, and Persian Green but I also added in a touch of Mermaid Lagoon Distress Marker as well.  I didn't have quite the right shade in the Zigs so I chose to use the one distress marker as well.

Nina used the Altenew Bejeweled Stamp set for her project, but I don't have that set yet.  I may very well get it eventually.  I started by heat embossing two butterflies (Stampendous Pen Pattern Butterflies - NLA) with Versamark and White Pearl Embossing Powder onto Arches Hot Pressed Watercolor Paper.  This paper is very smooth so it makes it very easy to heat emboss an image on.  I also used the MISTI just in case and it so happened that I missed a spot on the second one and had to go back and add a bit of ink right in the middle, so I was glad I had used the MISTI.  

I have two different examples for you today, one done in pinks/purples and one done in blues with a touch of teal.  For the pink one, I opted to leave the butterfly on the panel for a one layer card and also stamped the sentiment on there.  The Sentiment is from a set I collaborated on with Altenew, "Kind Words".

For the second card, I wanted the loose watercolor under the butterfly to show and also to bring attention to the small detailed images on that panel so I die cut the butterfly with the coordinating dies.  I love butterflies any time of year, so I figured I could use a few in my stash of cards.


For the little swirls on the blue butterfly background, I used a couple of stamps from the Silver White Winters Stamp set from Papertrey Ink.  Just as they give the impression of movement to the snowflakes in that set, they also give the same impression to the butterflies on this card.  However, this is one time when I didn't want to put a sentiment on the card.

I'm not great at the loose watercolor techniques, but I keep plugging along and practicing.  I'd try this style of card again in a heartbeat but next time I would probably use gold embossing powder.  I have one more of these butterflies already stamped and heat embossed in gold, so if I get a chance, I will definitely come back and share it here.

While I do love my Zig Markers, I find the color of them fades out very quickly so you might want to go in with brighter colors to start with.  I still like the outcome of this project, so I'm keeping it as is.  For the Blue Butterfly, I used Tonic Aqua Shimmer Pen to add a lot of sparkle to the inner and outer portions of the wings while leaving the center section of the wings plain.  For the Pink Butterfly, I put Tonic Nuvo Aqua Shimmer Pen over all of the wings.  I added some sequins to both cards for another pop of color.

My next class is Beautiful Details and is one that I've taken before and was taught by Marika Rahtu.  It was early on in my cardmaking so I am excited to see what I can do after taking the class again.   The supplies I've used are listed below (Affiliate Links are used whenever possible).


Altenew Bejeweled Stamp and Die Bundle
Shop at:
ALT
Altenew Kind Words Stamp Set
Shop at:
SSS | ALT
Arches Hot Pressed Watercolor Paper
Shop at:
SSS
Cuttlebug Die Cutting Machine
Shop at:
SSS
Gina K Designs Wreath Builder Templates
Shop at:
SSS | GKD
Hero Arts White Satin Pearl Embossing Powder
Shop at:
SSS
Kokuyo Long Dot Runner Adhesive
Shop at:
SSS
Mini MISTI Stamping Tool
Shop at:
SSS | ALT | GKD
PTI Silver Shite Winters Stamp Set
Shop at:
PTI
PTI Vintage Cream Cardstock
Shop at:
PTI
Ranger Multi Medium Matte
Shop at:
SSS
Teflon Bone Folder
Teflon Bone Folder
Shop at:
SSS
Tim Holtz Tonic Paper Trimmer
Shop at:
SSS
Tonic Aqua Shimmer Pen
Shop at:
SSS
Versamark Ink
Versamark Ink
Shop at:
SSS
Wagner Heat Tool
Wagner Heat Tool
Shop at:
SSS
Zig Clean Color Real Brush Markers - 48 Set
Shop at:
SSS

Tuesday, September 25, 2018

Keeping Christmas

Hello Everyone! I am so excited to be here for this month's Keeping Christmas Blog Hop that we hold on the 25th of each month except in December.  I am the last stop on the hop but here are the links to everyone who is participating.

Broni Holcombe (Off this month due to "Florence")
Vicki Finger (You are Here)

I have been having so much fun playing with a variety of stamp using the Gina K Designs Wreath Builder Templates.  I have gotten the Fall or Winter Stamps yet so I've been using what I do have.  I was playing around with the A2 version of this to make a full-sized card and learned a few tricks along the way so that if you don't have the templates, you can still do a few things to help give the appearance of the Wreath or symmetrical design using a Misti.  For some things. I still like using the templates, so I cut my cardstock down to 4 x 5.25 inches.  


You can find a video on the Stamp TV YouTube Channel here in case you are interested.  I like the little square cards but if you put them in a square envelope, it costs more to mail them so I like to still have the normal A2 Sized Card base without having to cut my stamped panel.  So with some help from Gina K's video, I have been doing a lot of experimentation and finding what works for me.

Here is a similar design with a little bit different color.  I used Dusty Rose and Plum Punch here in a similar style.


Both of the decorative stamps sets I used for these cards are no longer available, but it's always good to find new ways to use older products and the little holly and berries from the Enclosed: Bell is a long time favorite.  In fact, I've never even used the Bell Die at all.  The other stamps were from Holiday Photo Finishers and the Sentiment is from Deck the Halls which is still available in the Papertrey Store.

Because I used Gina K Designs Inks, I wanted to use the coordinating cardstock for my card bases. This is Gina K Designs Heavy Base Weight White, Cherry Red, and Fresh Asparagus.

As a little bonus, I made several Christmas Cards using the same Holly Stamps from Enclosed: Bell and posted these yesterday on my Instagram Account.


These cards feature products from Papertrey Ink including the Scallop Stackers Large and Medium Dies along with Basic Bookmark #3.  I always create the bookmarks by die cutting one from white cardstock and the other from whatever other paper I wanted to use.  I glue them back to back so that they are finished on either side. In this case, the paper was from a Mat Stack that I got during Black Friday and Cyber Monday last year.  It was a perfect fit for the little Holly Leaves.  The embossed center piece is from Holiday Photo Finishers.

As always, thanks so much for stopping by today!  I hope you enjoy hopping around to all the blogs and seeing their Keeping Christmas projects.

Papertrey Ink September 2018 Blog Hop


Since our move at the end of May, I haven't been able to participate in very many Blog Hops but I'm determined to get back on schedule!  Each month Papertrey Ink holds a blog hop with an inspirational image to guide us.

This beautiful fall table with its vibrant colors was definitely my inspiration as I was choosing what colors to work with.  I'm not a fan of pumpkin unless it the pumpkin pie that I make which has a layer of pecans with brown sugar and butter in the bottom of the crust.  It's a delicious little surprise hidden at the bottom of the pie.  As long as you like pecans, this will be a little taste of heaven.  We've been so far from our kids for the last 8.5 years that we rarely get to celebrate Thanksgiving with them.  This year, I for sure want to bring that tradition back.  Heck, I can't even remember the last time I made pie crust and I have a fantastic recipe.

I have been using the Gina K Designs Wreath Builder Templates to make lots of cards.  I happened to catch her video on YouTube here where she showed how to make wreath cards with the A2 Format and since I already had the templates, I have been going to town with this technique.  Keep an eye on my blog as I will be sharing more cards using the templates in my other post today.


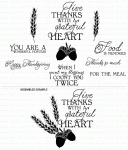
I hadn't realized that most of the stamps I used for this card are from Papertrey Ink's "Paper Clippings: Thankful For You" which has been discontinued.  I happen to really love the set, so I'm happy to be able to use it.  I also used the acorns from "Give Thanks" for this card and I have done an entire card using this set.  I used one maple leaf from the WPLUS9 Autumn Leaves stamp set because it bent in the opposite direction from the one is the "Paper Clippings: Thankful For You Stamp Set".  I would encourage you to look through all of your stamp sets to see what you have that will work for this type of card if you are interested.

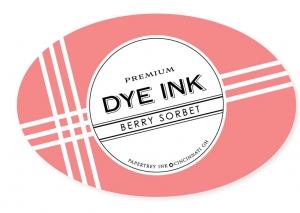
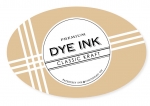
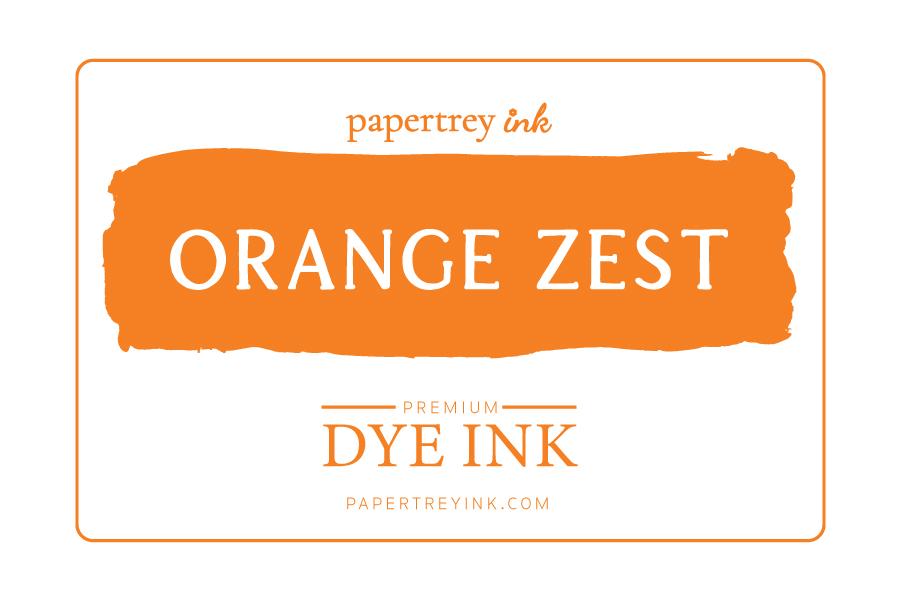
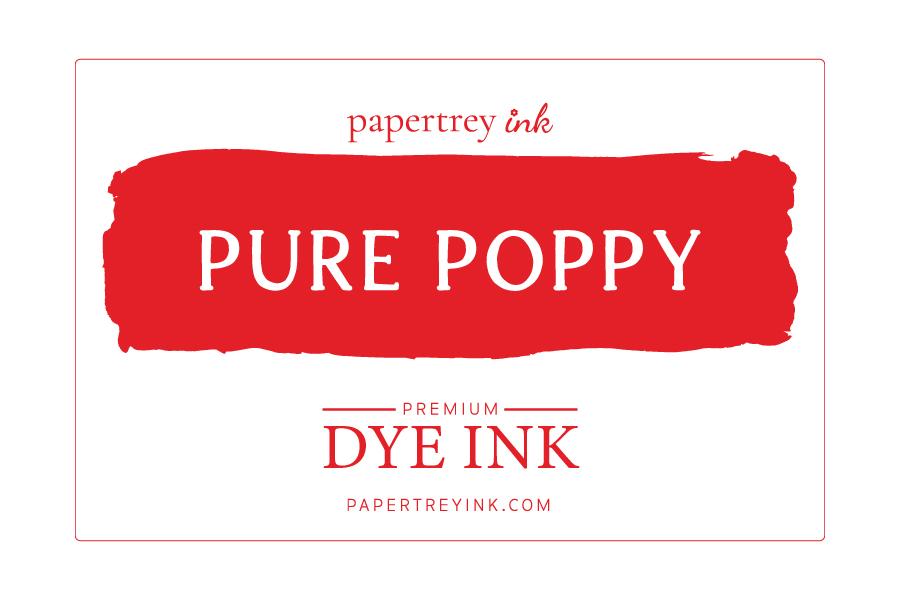
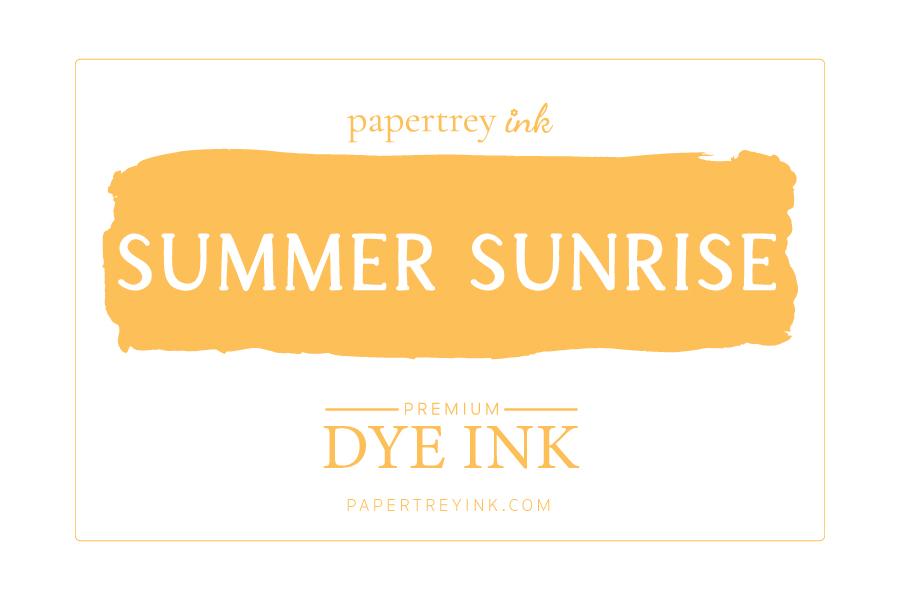
I created the depth of color in the maple leaves by stamping in a solid color first and then adding a second color with a fingertip sponge dauber.  It really made the leaves on this card pop!  I used Orange Zest with a bit of Pure Poppy sponged on, and Berry Sorbet with Pure Poppy sponged on as well.  The Acorns were stamped in Classic Kraft and then sponged with a bit of Dark Chocolate at the base of them.

The Wheat Stalks were Stamped in Fine Linen and the details were stamped in Versamark and heat set with Antique Gold Embossing Powder.  For the sentiment, I die cut an oval from Stamper's Select Vellum and then used the negative as my placeholder for the greeting which came from the "Give Thanks" Stamp Set.

To adhere the sentiment to the card front, I put tiny dots of Multi Medium Matte behind the letters, adhered it to my panel and set a glass block on top of it.  I have this block just for this purpose.  It's heavy, so it's great for flattening watercolor panels as well.

Thank you so much for stopping by today to see my project.  The supplies I used are linked below for your convenience (Affiliate Links are used).


Gina K Designs Wreath Builder Templates
Shop at:
SSS | GKD
Kokuyo Long Dot Runner Adhesive
Shop at:
SSS
Mini MISTI Stamping Tool
Shop at:
SSS | ALT | GKD
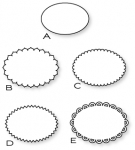
PTI - Limitless Layers 2¼ Ovals
Shop at:
PTI
PTI Give Thanks Stamp Set
Shop at:
PTI
PTI Perfect Match Berry Sorbet Ink
Shop at:
PTI
PTI Perfect Match Classic Kraft Ink
Shop at:
PTI
PTI Perfect Match Dark Chocolate Ink
Shop at:
PTI
PTI Perfect Match Fine Linen Ink
Shop at:
PTI
PTI Perfect Match Olive Twist Ink
Shop at:
PTI
PTI Perfect Match Orange Zest Ink
Shop at:
PTI
PTI Perfect Match Pure Poppy Ink
Shop at:
PTI
PTI Perfect Match Summer Sunrise Ink
Shop at:
PTI
PTI Pure Poppy Cardstock
Shop at:
PTI
PTI Stamper's Select Vellum (#44)
Shop at:
PTI
PTI Stamper's Select White Cardstock
Shop at:
PTI
Ranger Multi Medium Matte
Shop at:
SSS
Scor-Pal Scoring Board
Shop at:
SSS
SSS Antique Gold Embossing Powder
Shop at:
SSS
SSS Stitched Rectangles Dies
Shop at:
SSS
Teflon Bone Folder
Teflon Bone Folder
Shop at:
SSS
Tim Holtz Tonic Paper Trimmer
Shop at:
SSS
Versamark Ink
Versamark Ink
Shop at:
SSS
Wagner Heat Tool
Wagner Heat Tool
Shop at:
SSS
WPLUS9 Gift Card Layers Designer Dies
Shop at:
SSS